Intro to Comic Craft: Step by Step: Converting Thumbnails to Roughs

As part of this series, my Patrons have exclusive access to behind the scenes comic creation content, including the entire plotform synopsis for 7" Kara, the 7" Kara beat sheet, the Chapter 7 Synopsis, the Chapter 7 tight script, and loads more. If you learn best from working example, joining my Patreon will give you access to those files.

You can join Kara on her adventures by ordering a copy of Volume 1 from my shop, or reading the webcomic on Tumblr or on the site.
Now that we've thumbnailed an entire chapter of comic, its time to start refining those images into a comic others will want to read. For me, the next step in my process is to create roughs, but in between traditional thumbnails and traditional roughs, I work a little digital magic.
NOTE: This post is a little bit technical, and is heavily reliant on Photoshop for image cropping, resizing, and overall color changes. I understand that not everyone uses Photoshop, or has access to Photoshop, but there are many other programs available that can handle these tasks as well. In the future, I hope to have posts that cover other programs that can handle these tasks.
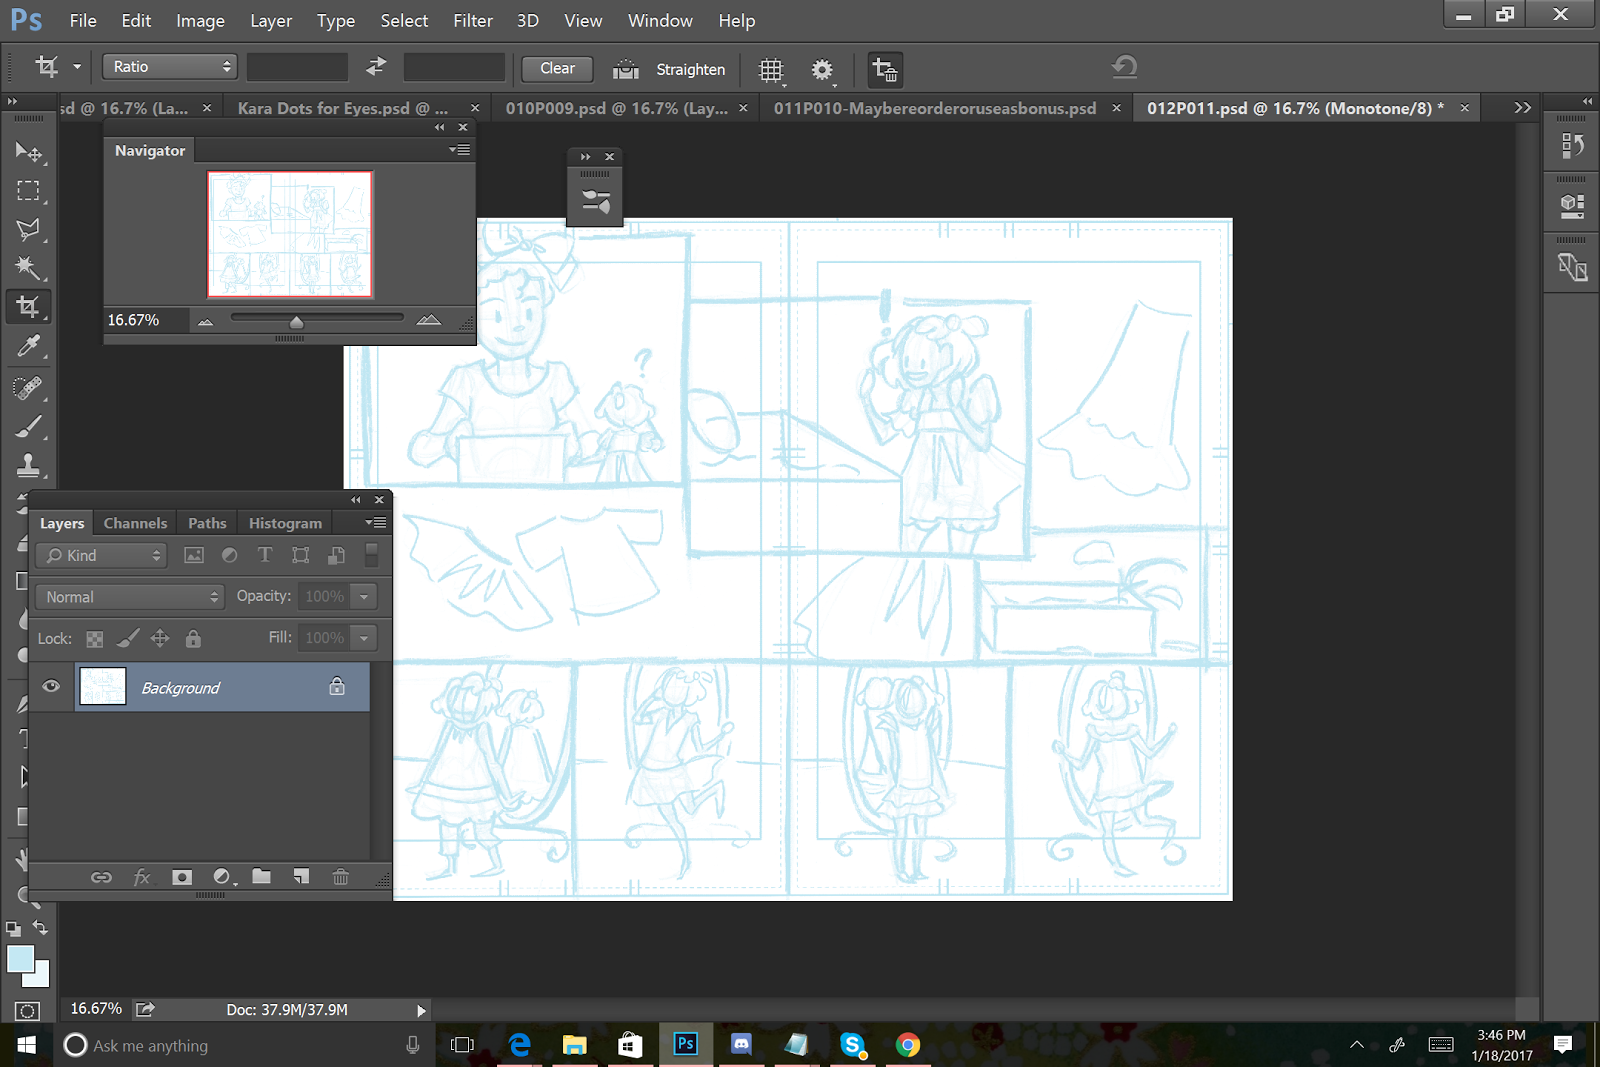
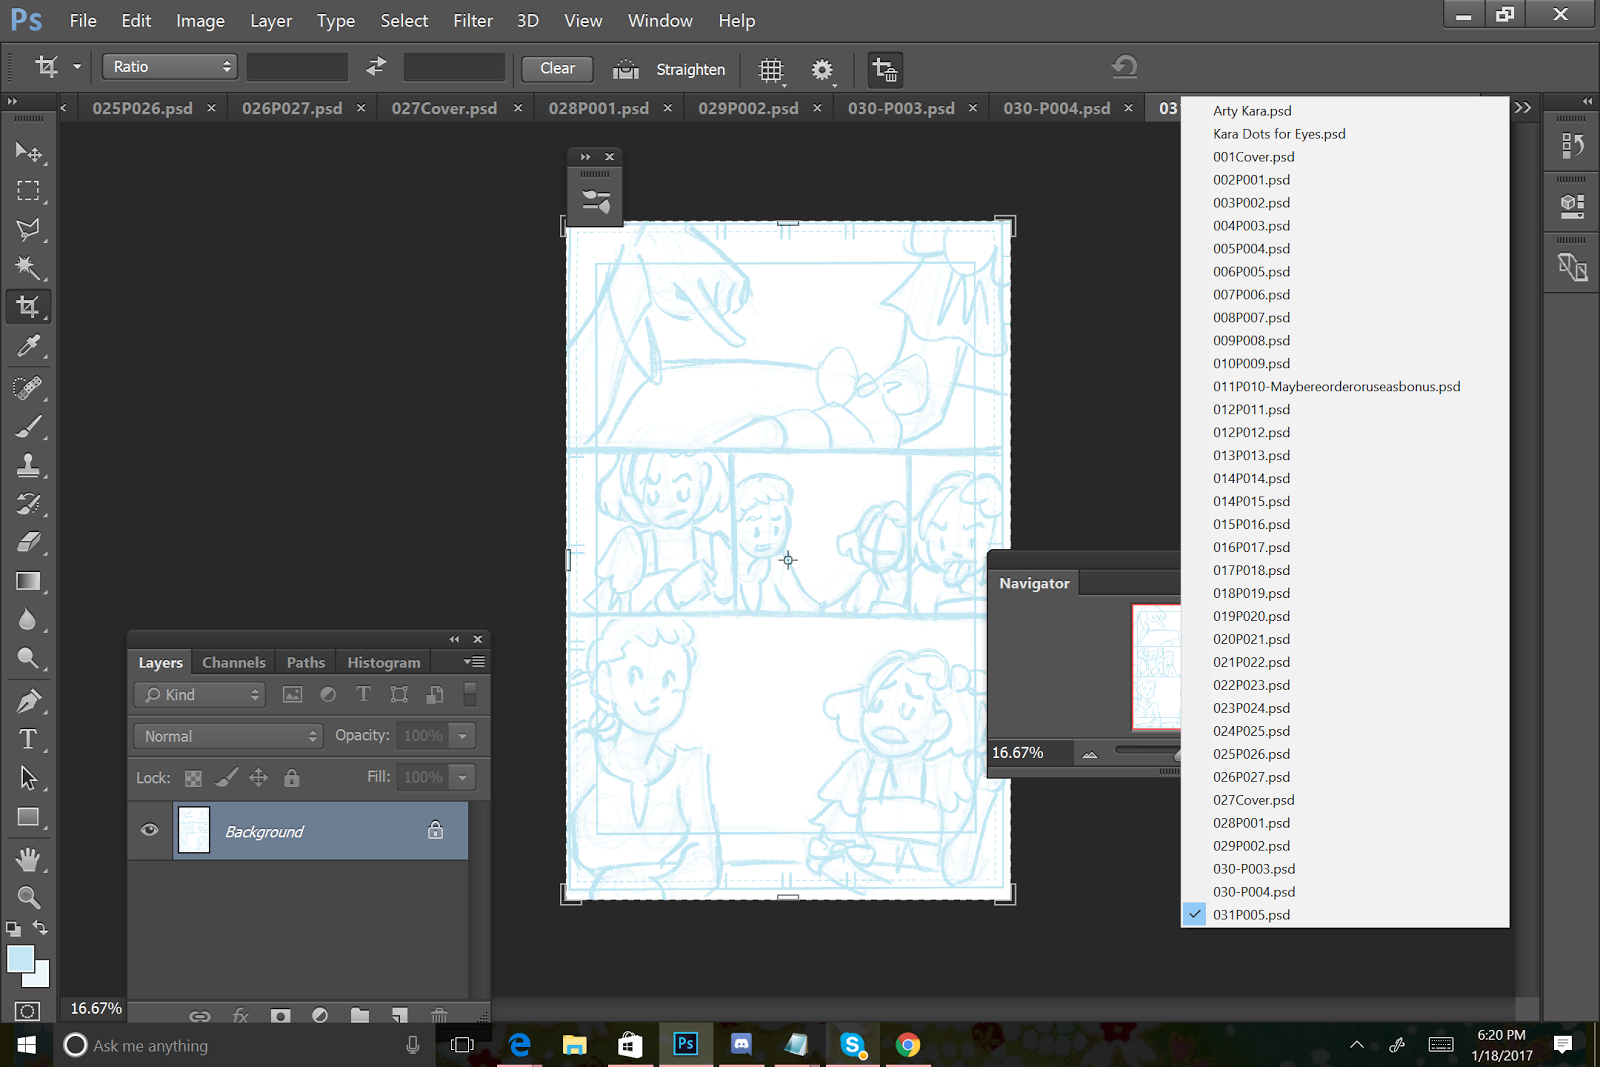
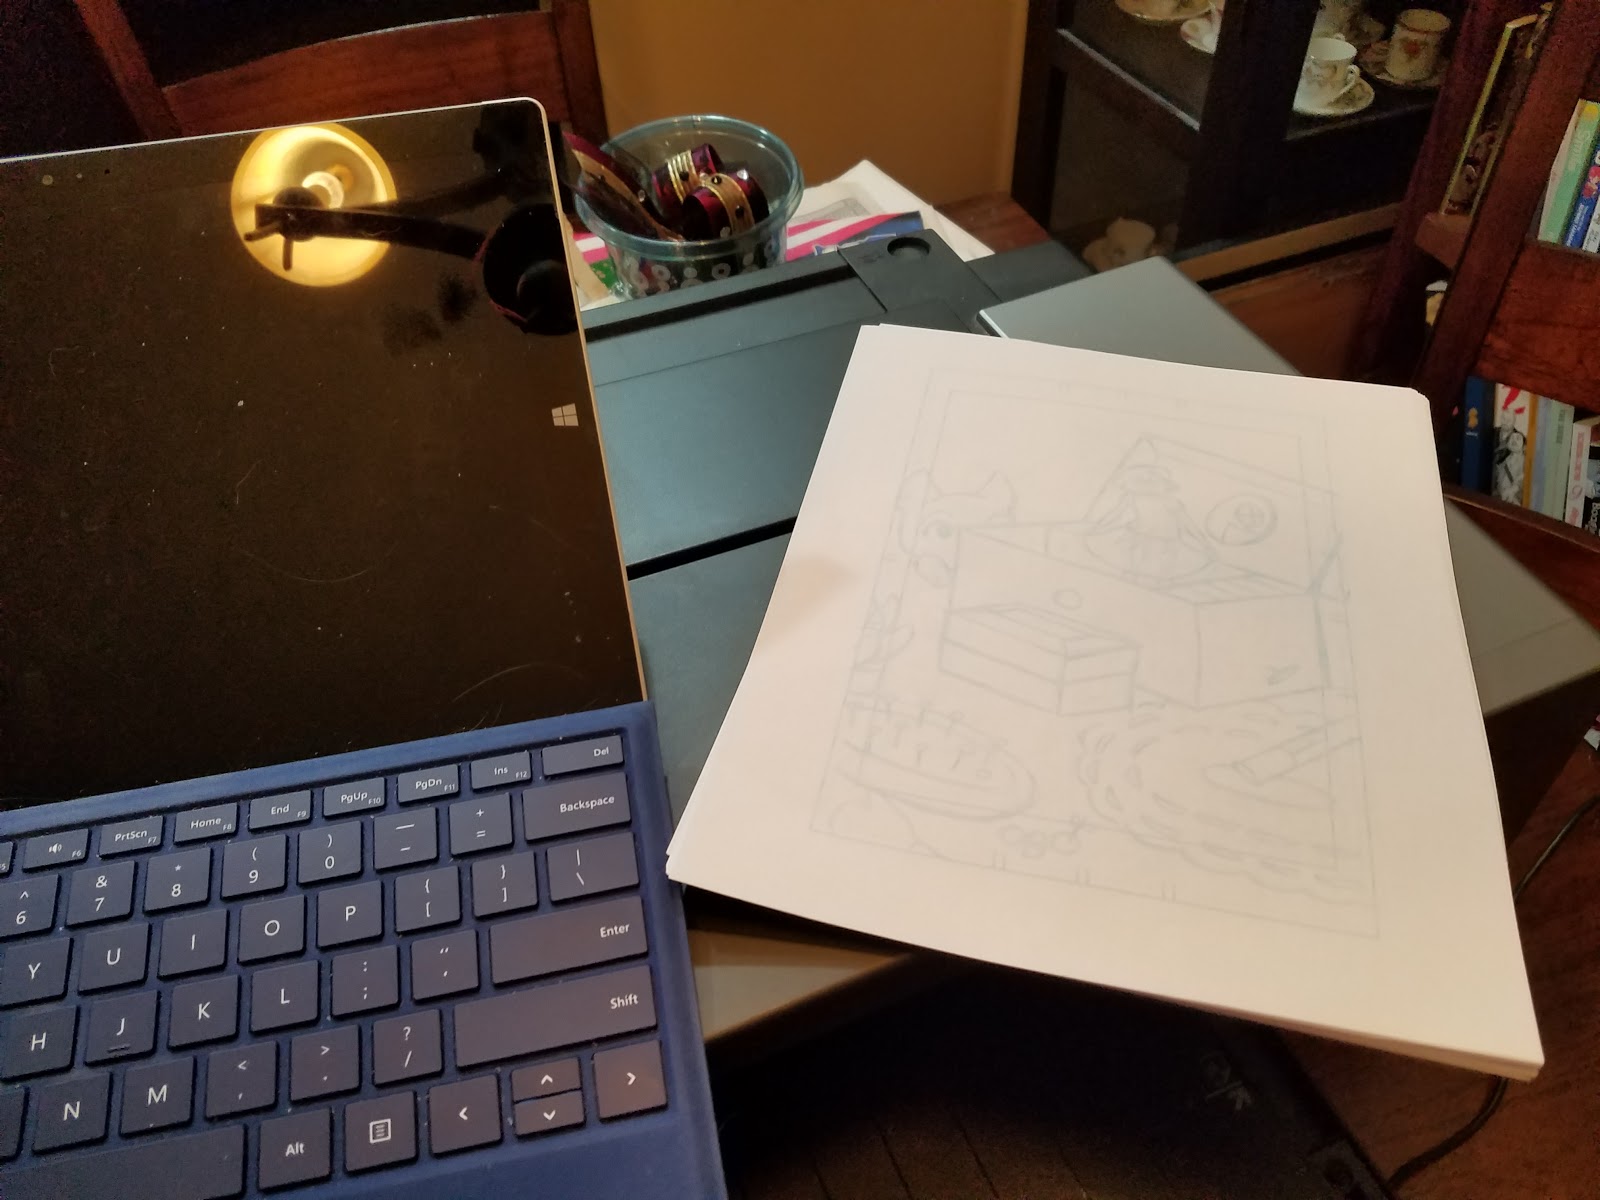
I scan my thumbnails at 300 DPI, in full color, but I recommend you play around with and find the settings that work best for you.

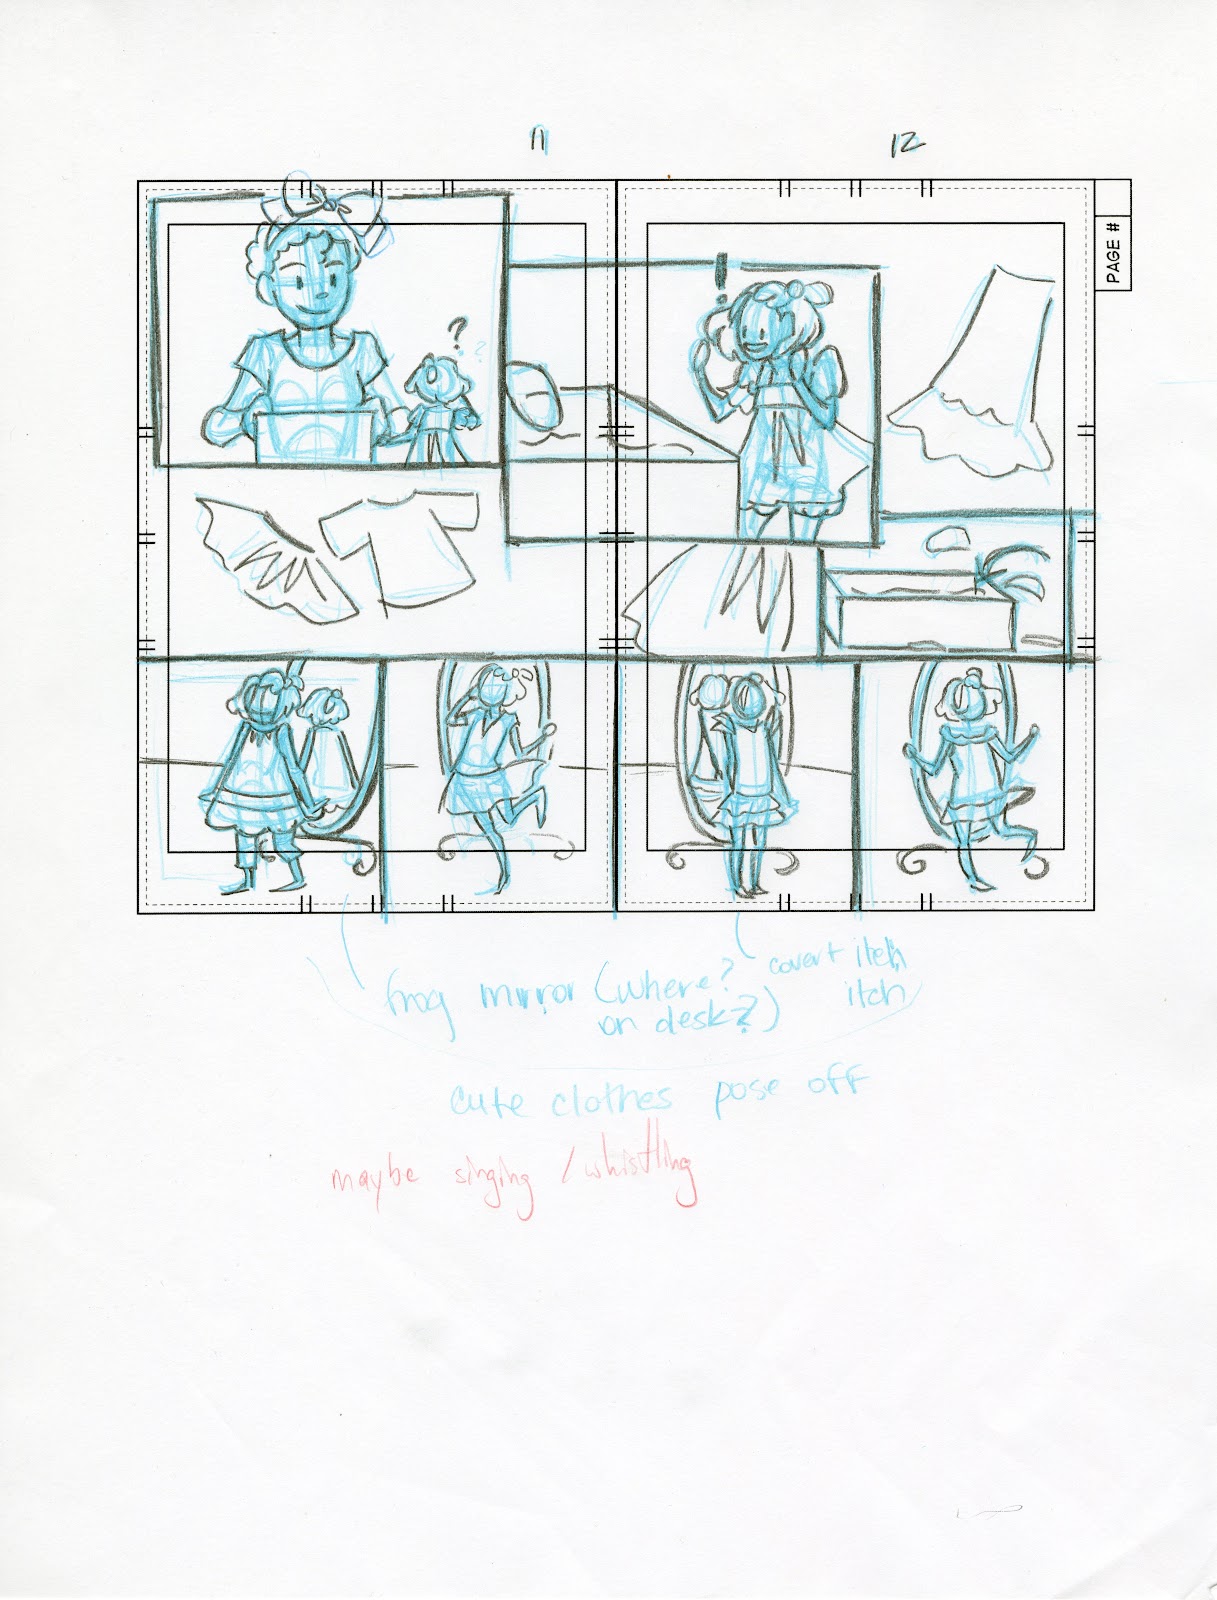

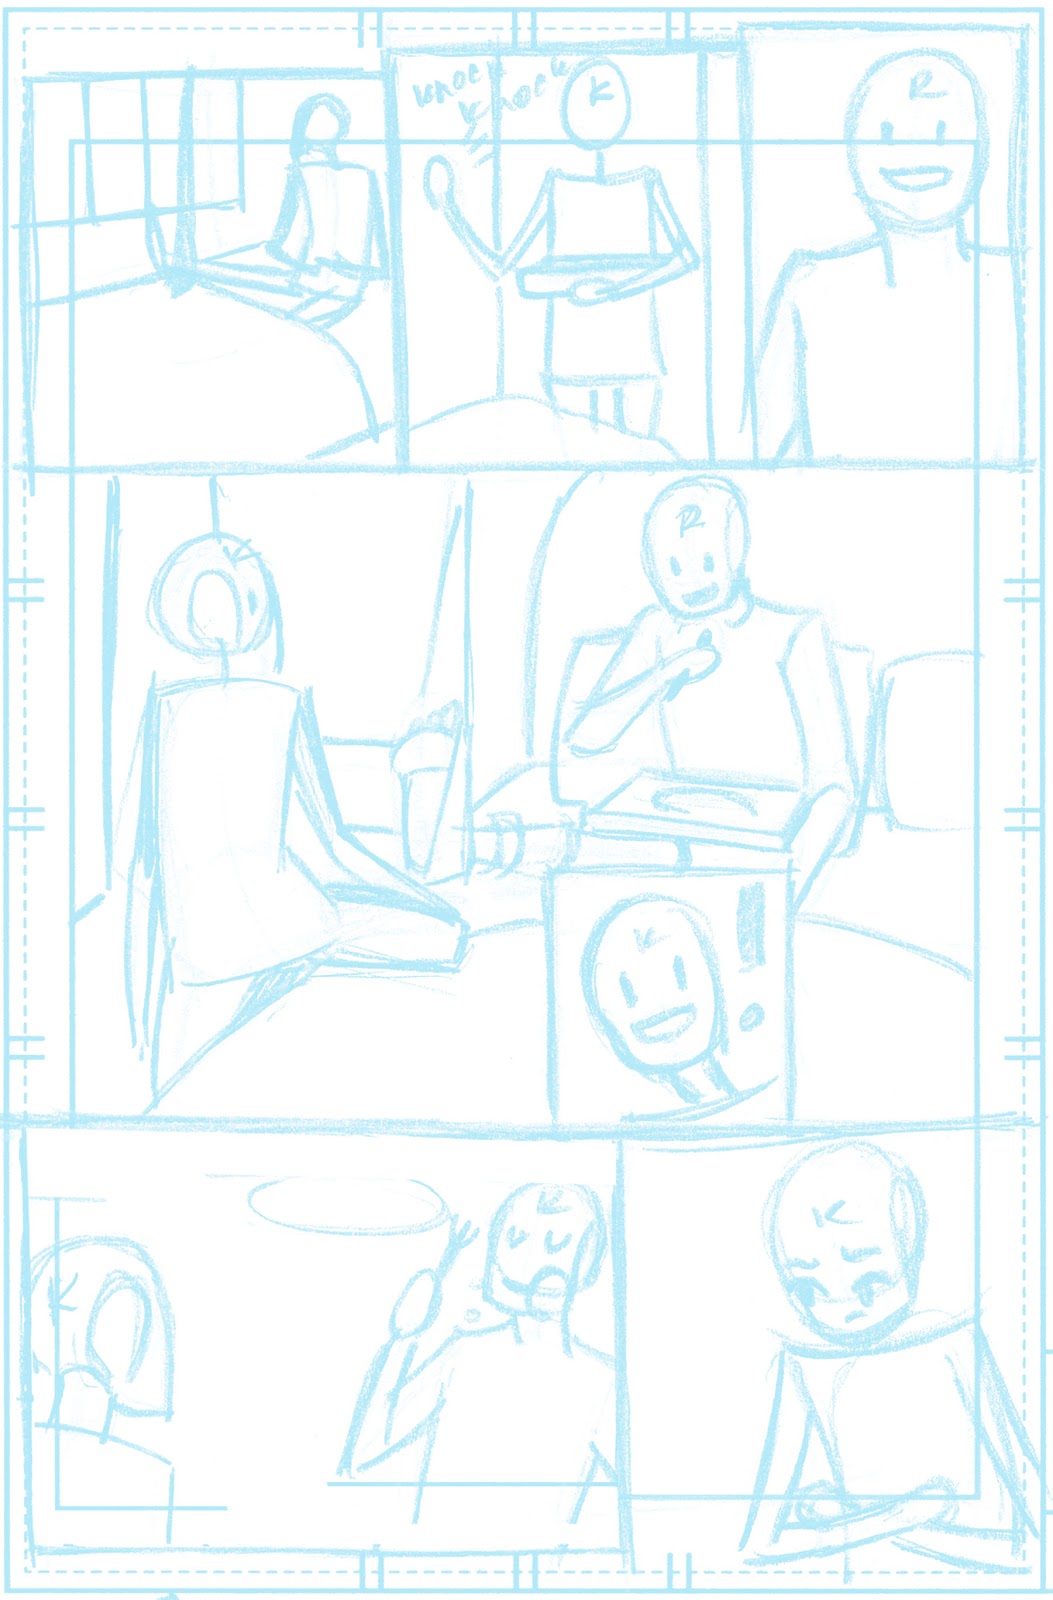
These are just a selection of the thumbnails from Chapter 7 of 7" Kara.
Once I've scanned all my thumbnails, I can send these off to my friends in computer land for revisions and editing suggestions. This step is a huge opportunity for revision and improvement, as they've read the script (so they know what I'm aiming for)
Once I've scanned all my thumbnails, I can send these off to my friends in computer land for revisions and editing suggestions. This step is a huge opportunity for revision and improvement, as they've read the script (so they know what I'm aiming for)
Patreon backers have access to all thumbnails from Chapter 7 (including correction notes), but access to all of Chapter 6, from script to painted pages. If you're interested in seeing how thumbnails progress on to finished pages, consider becoming a Patreon backer, so you can access these files.
Trim Individual Pages from whole, resize to 6"x9", save as individual pages


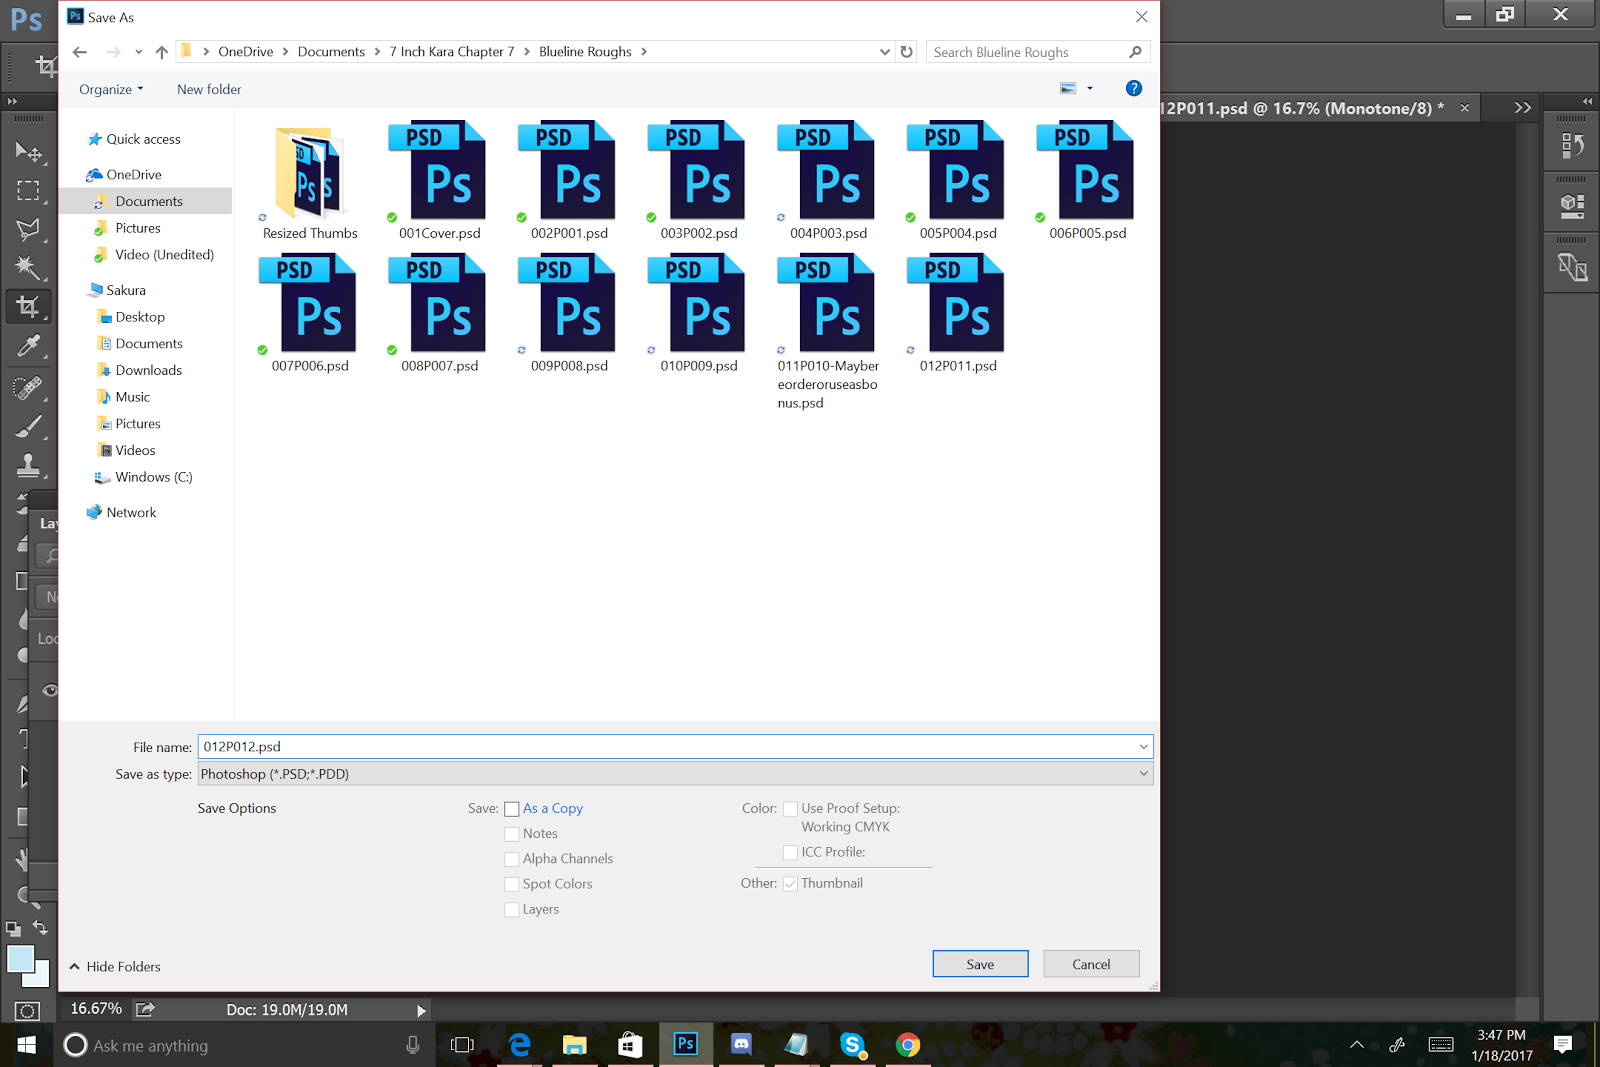
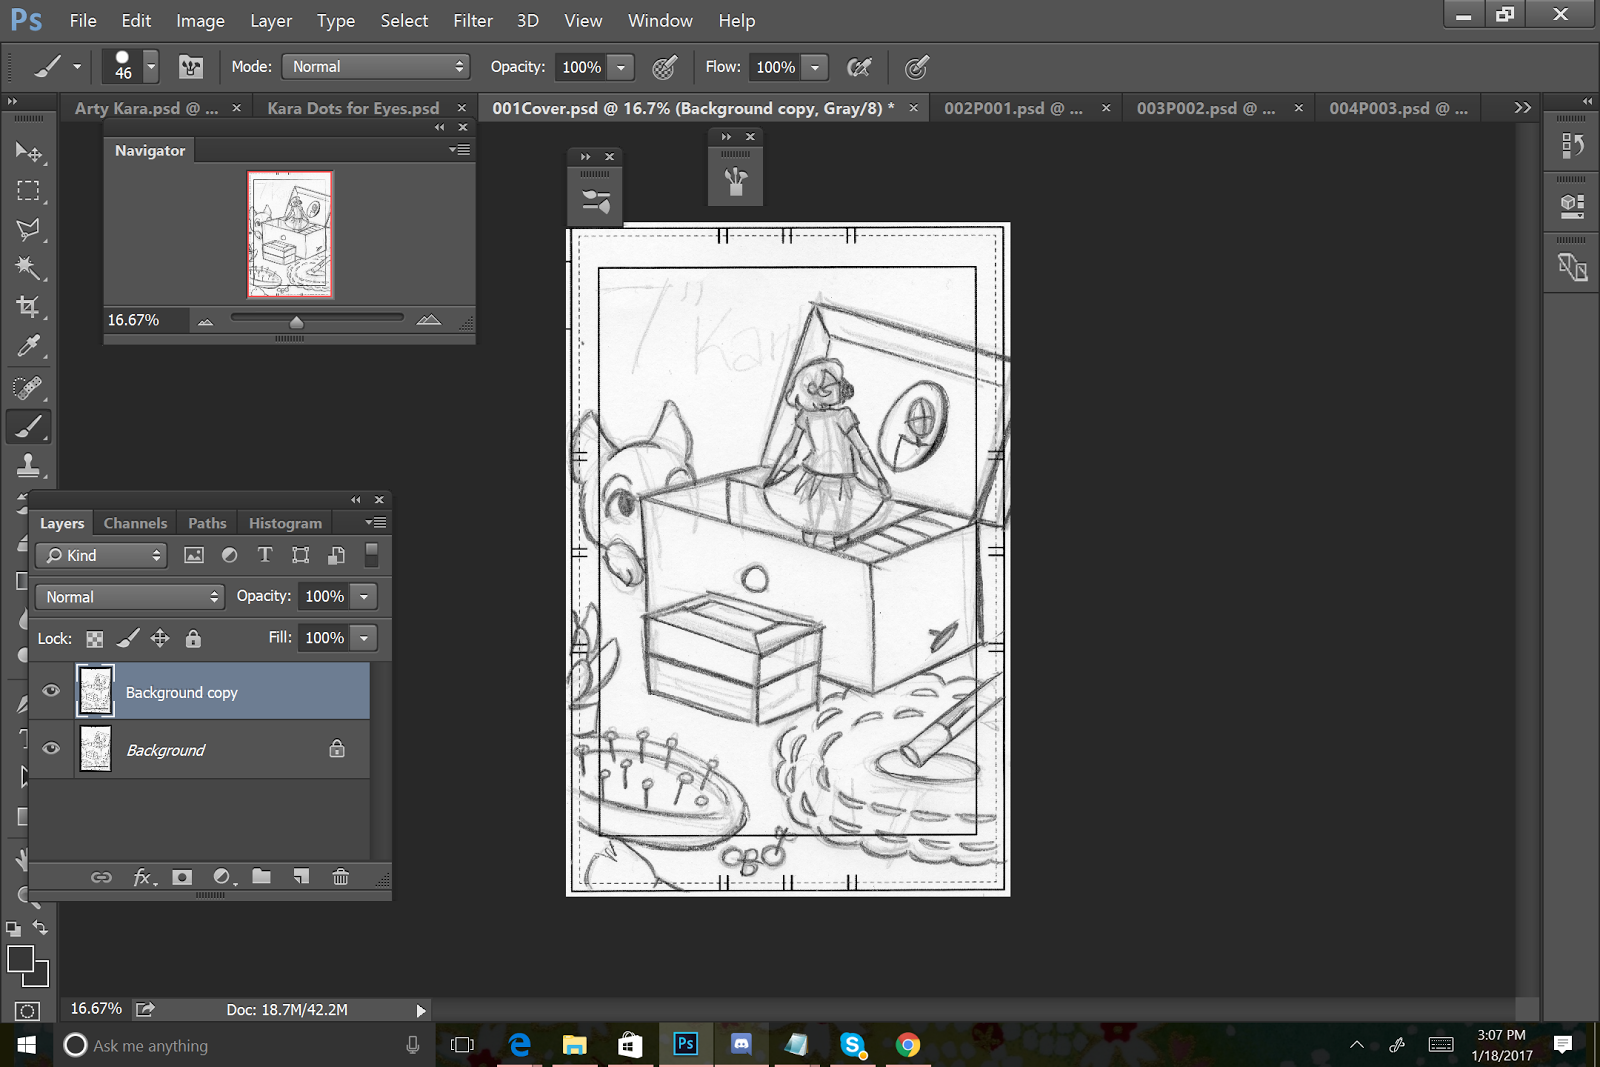
I save my roughs (in this case, proto-roughs) in a seperate folder, and I use a specific naming scheme.
001Cover (first scan, cover)
002P001 (second scan, first page of chapter)
For double page spreads

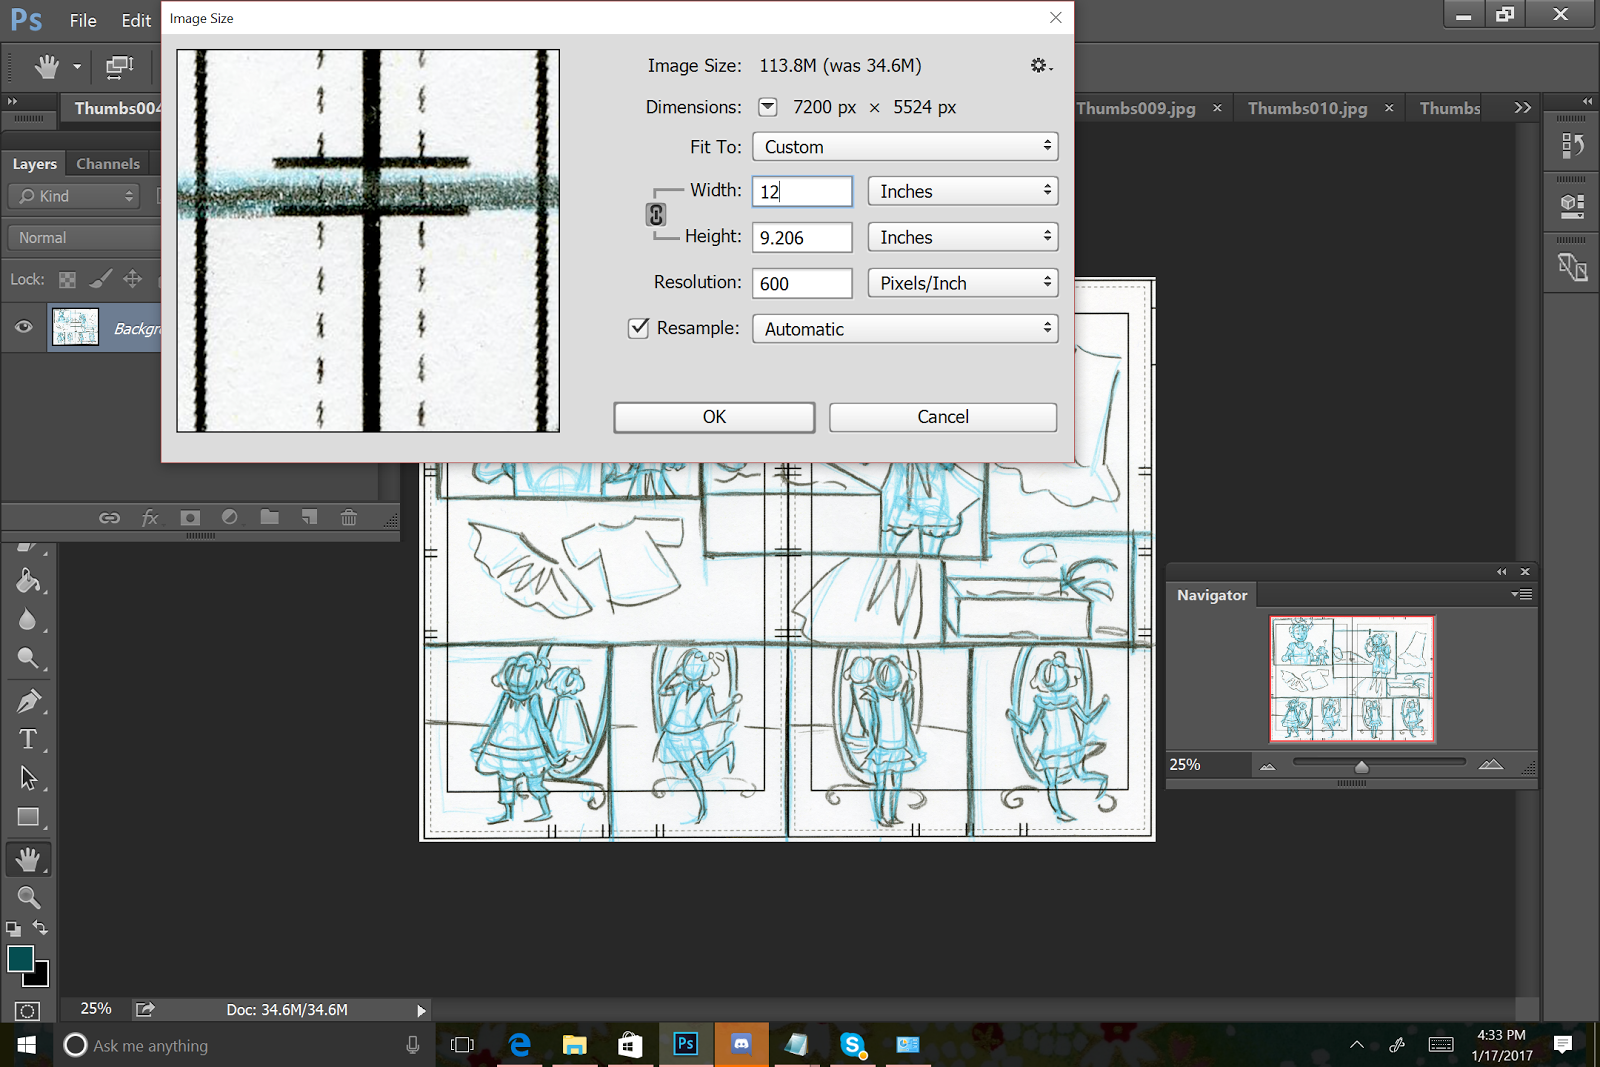
I resize for 12x9 for double page spreads that have not been separated.

The file is then saved as SCANNUMBERP(pagenumber)-(pagenumber)
Ex: 004P3-4
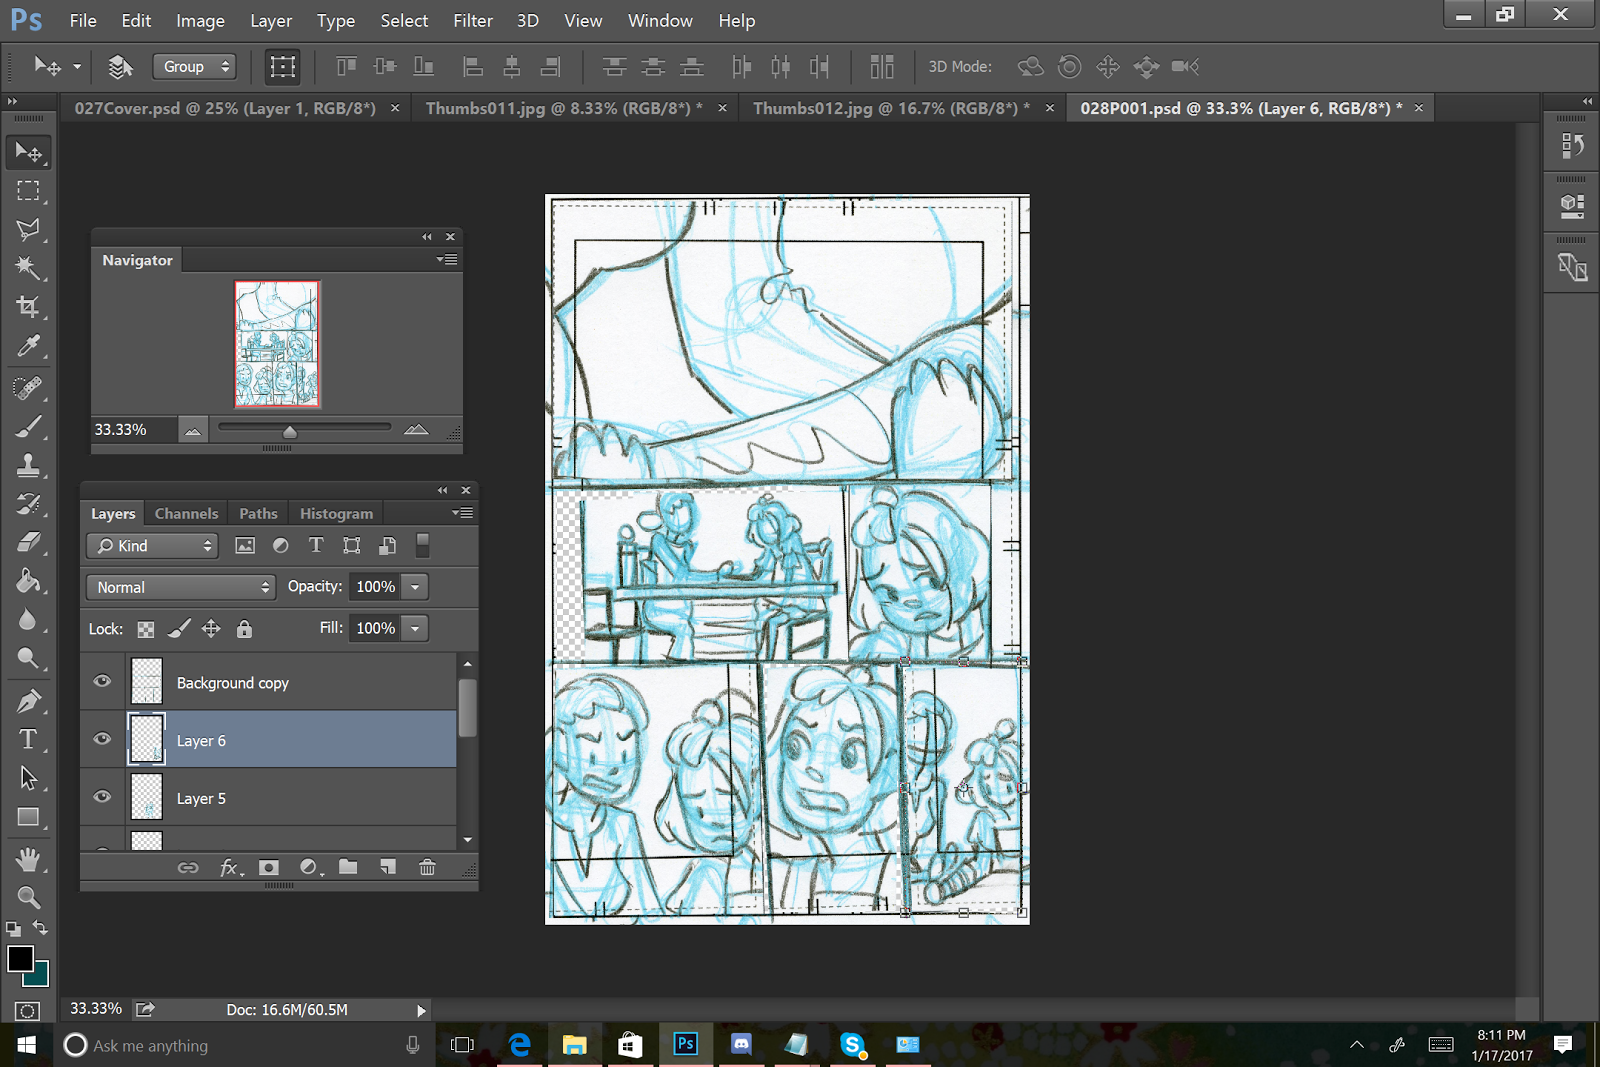
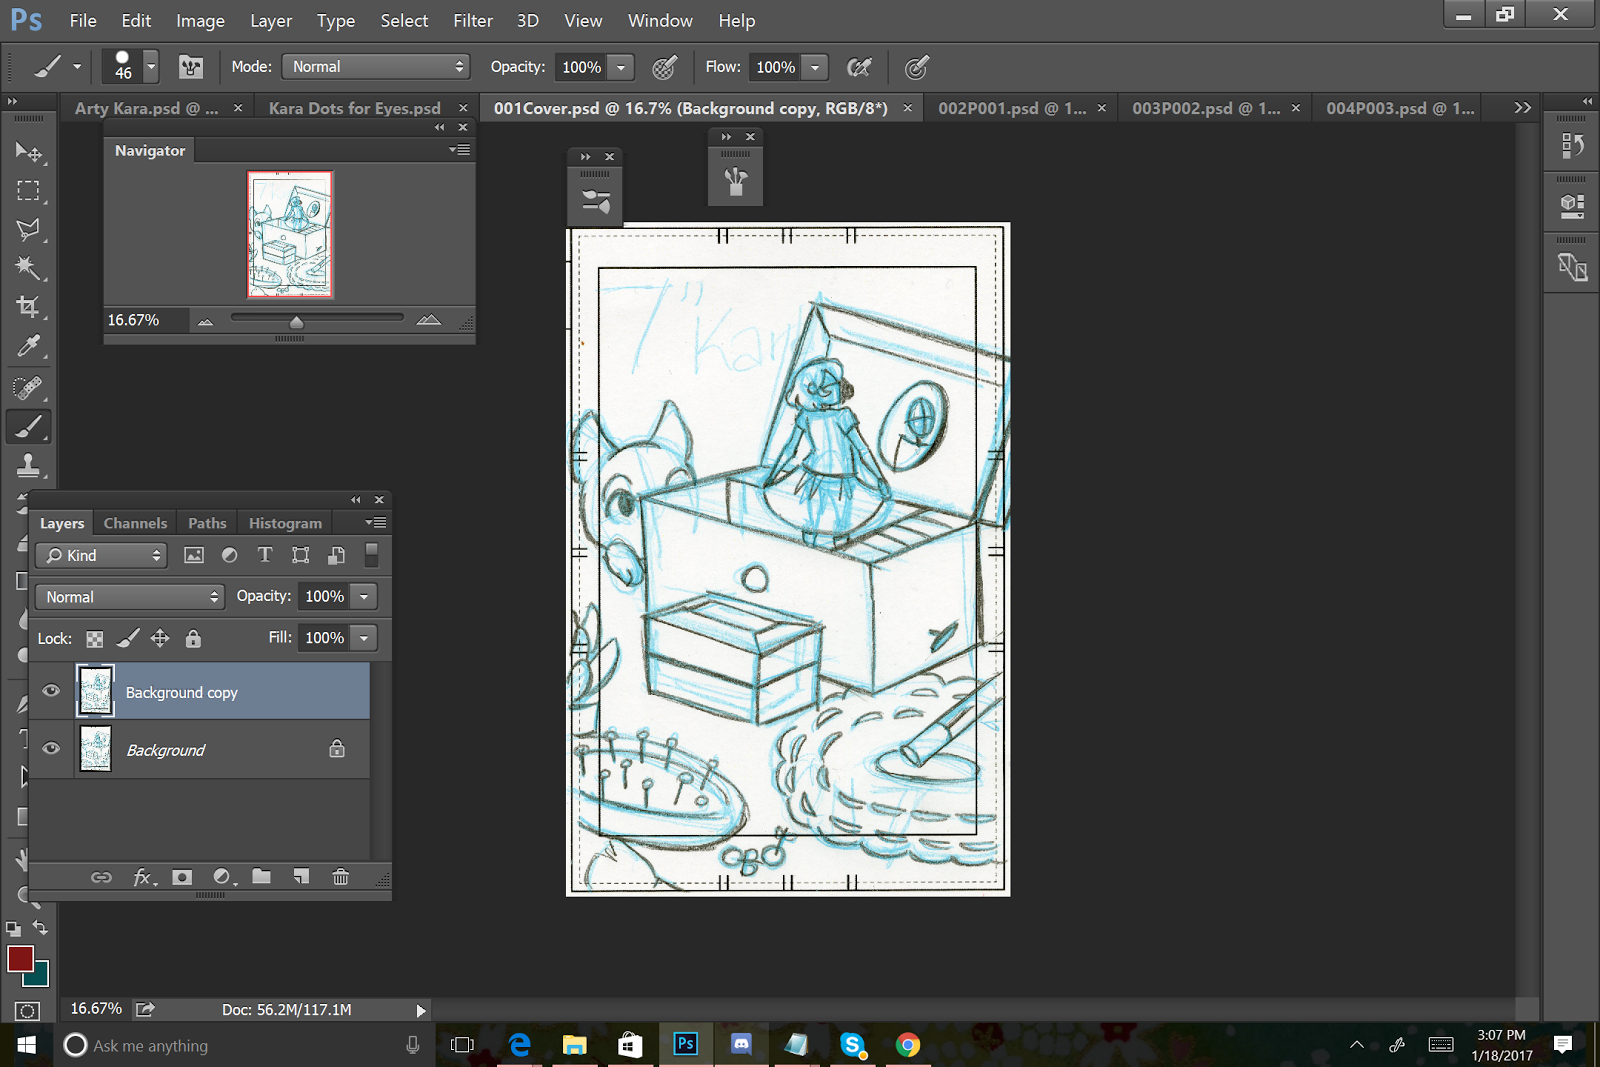
Resizing Images that Extend Past Page Borders
For some thumbails, I continued the gesture past the page borders, knowing that I might opt to resize for roughs.
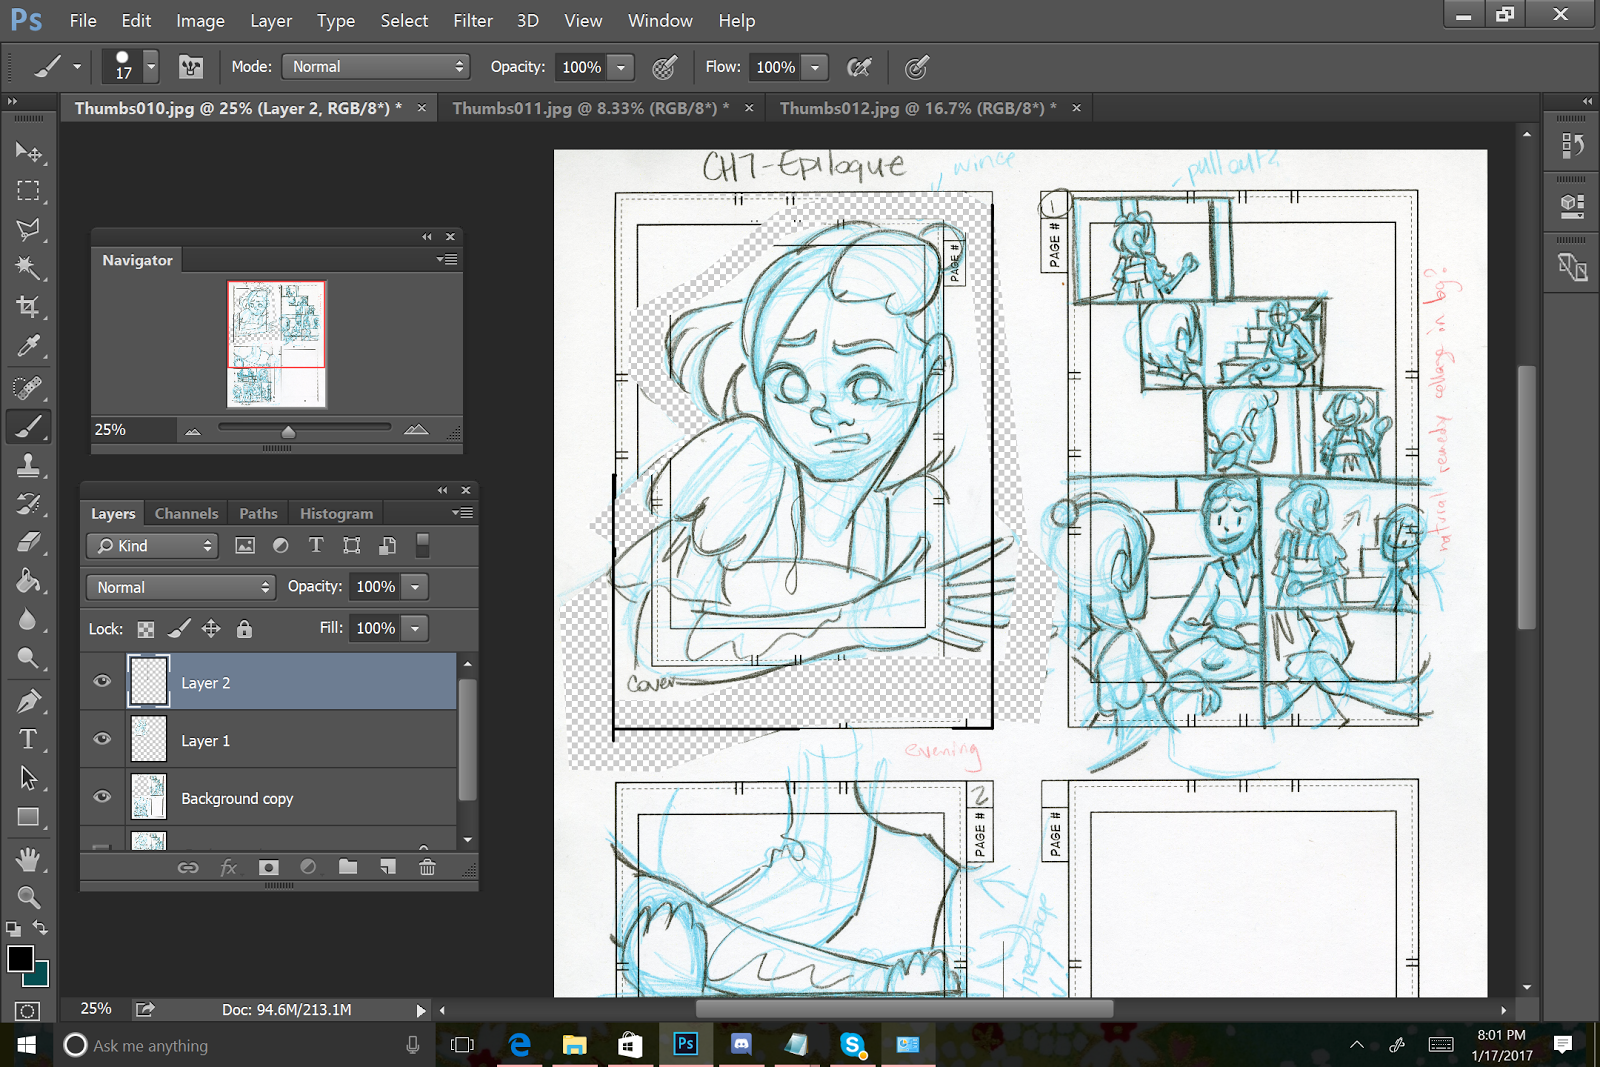
I select the artwork that I want to resize, trying to leave the panel borders undisturbed.
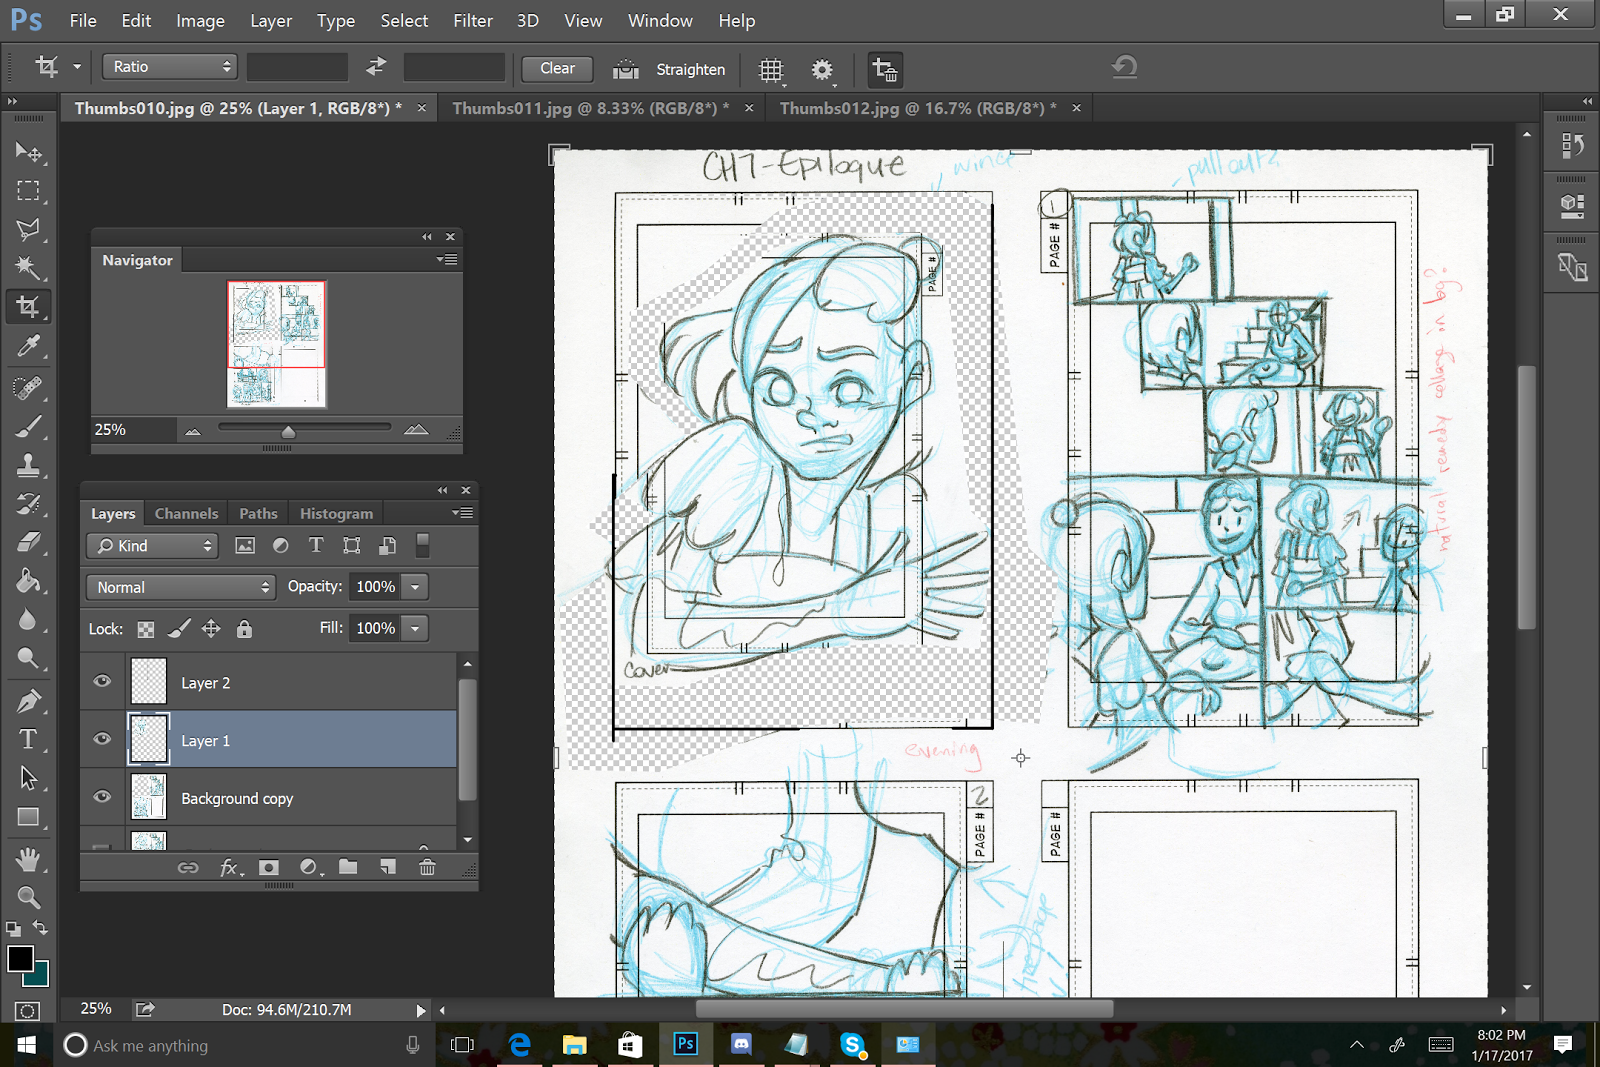
And I resize while holding down Shift, which keeps elements in proportion as they shrink.

The panels are then drawn with the brush tool for my reference.
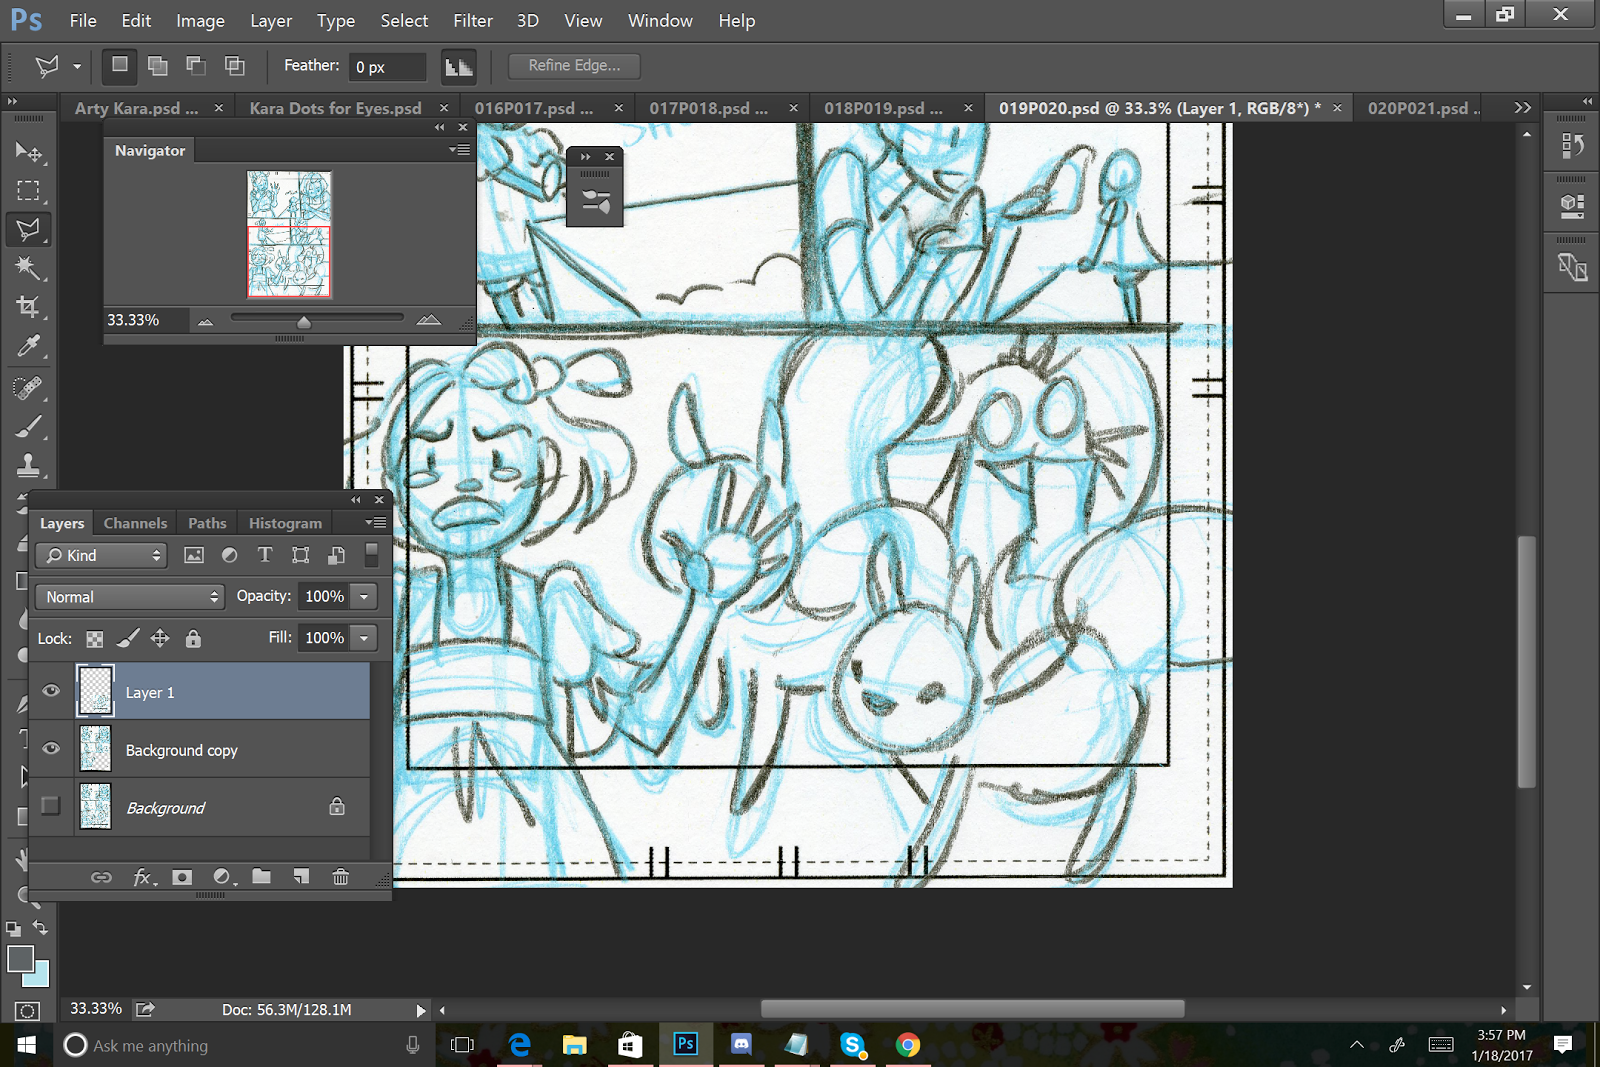
Flipping Panels without Flipping the Page
Sometimes panels need to be flipped for storytelling and continuity purposes. This is fairly easy to do.

S
I make a copy of the base page.

I select the panel I wish to flip using the rectangular marquee tool.
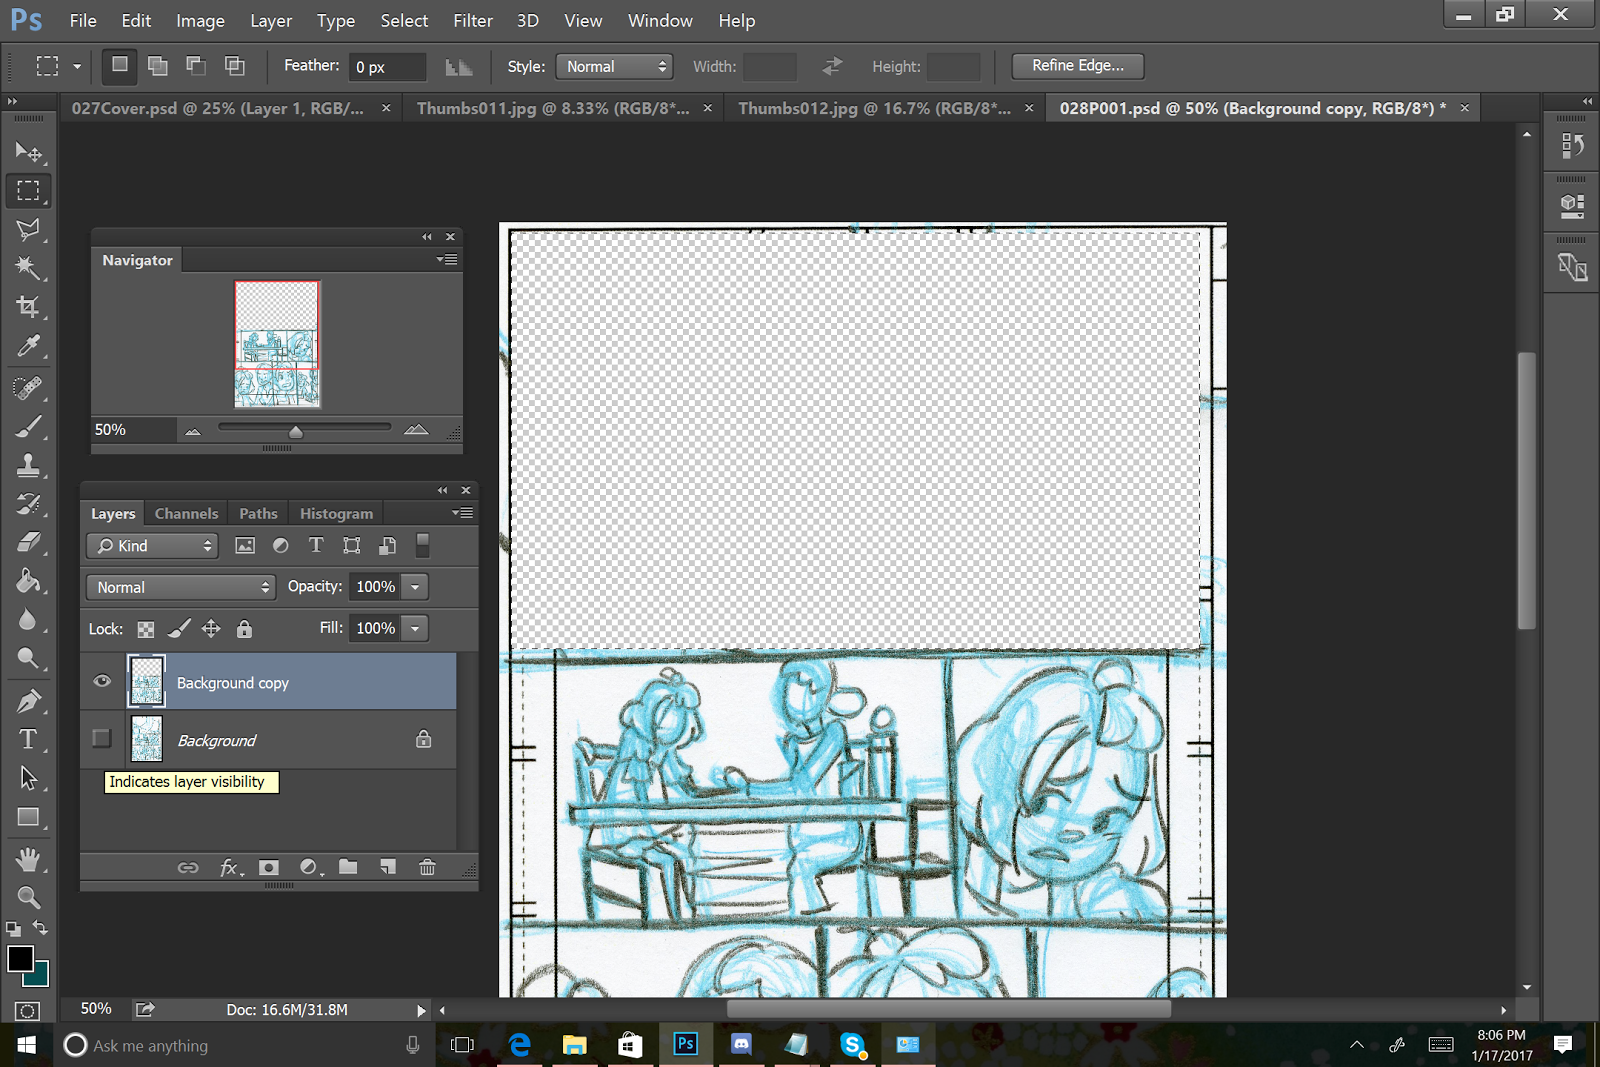
I cut it out of the page using copy and delete.

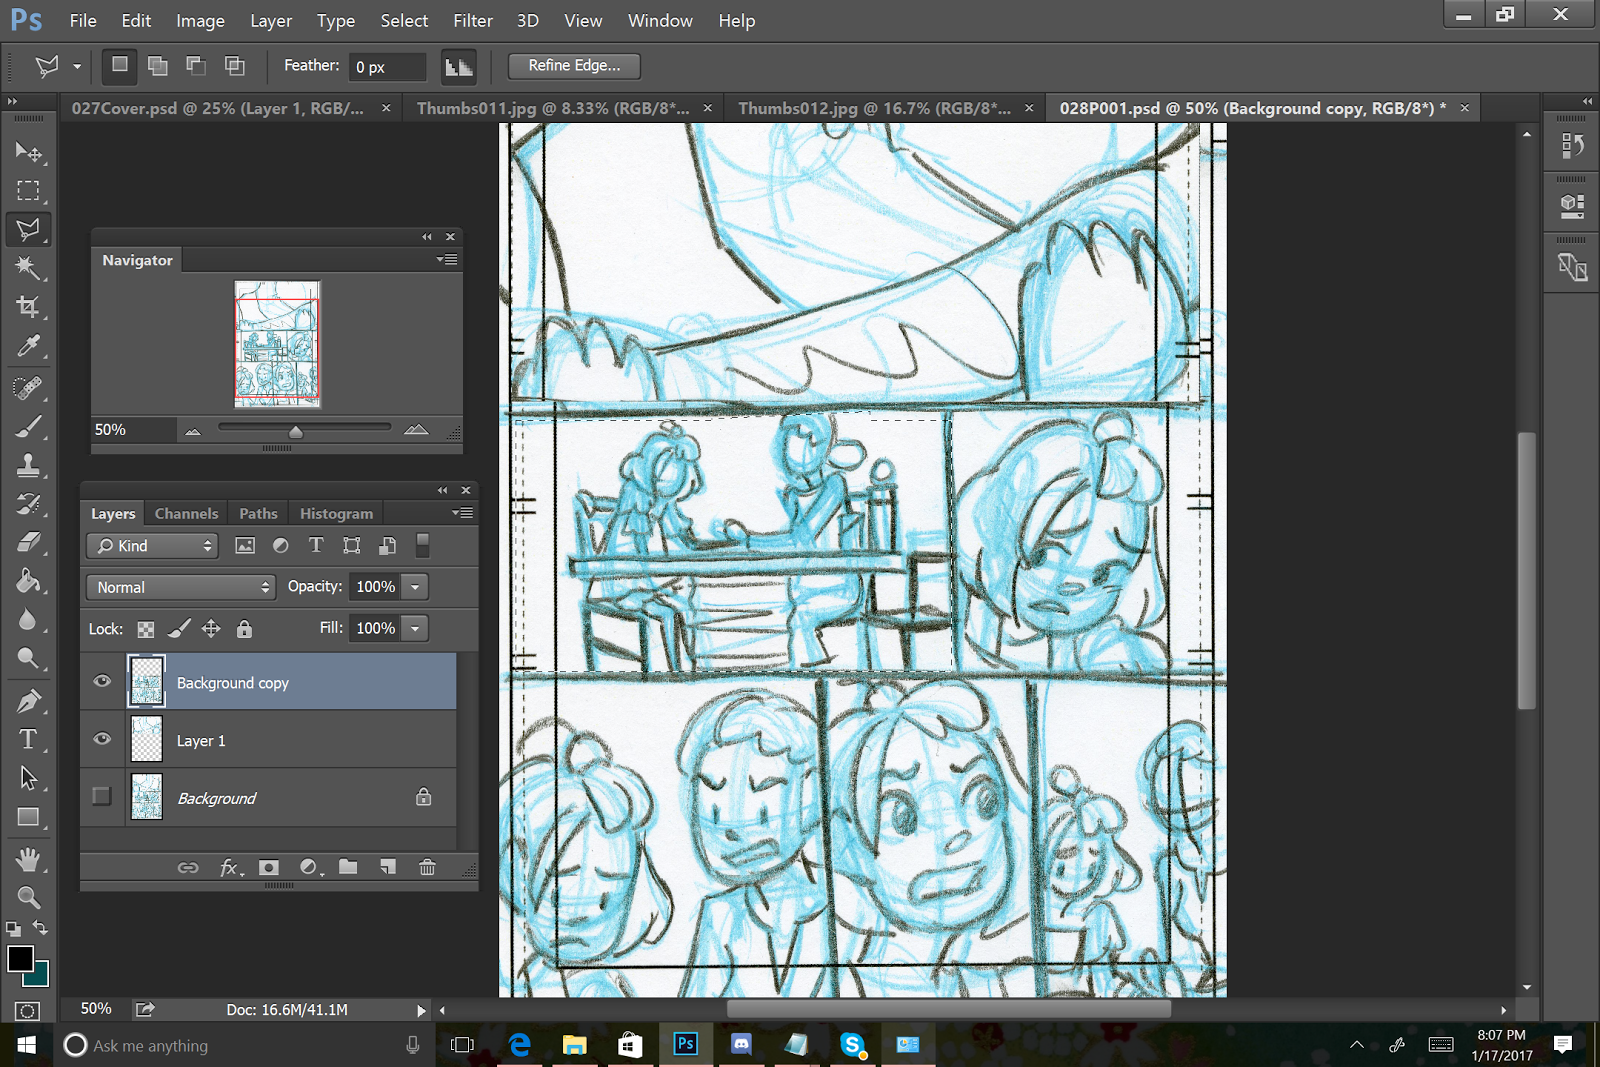
Paste that panel onto a new layer, beneath my page (the copied page creates a 'frame')
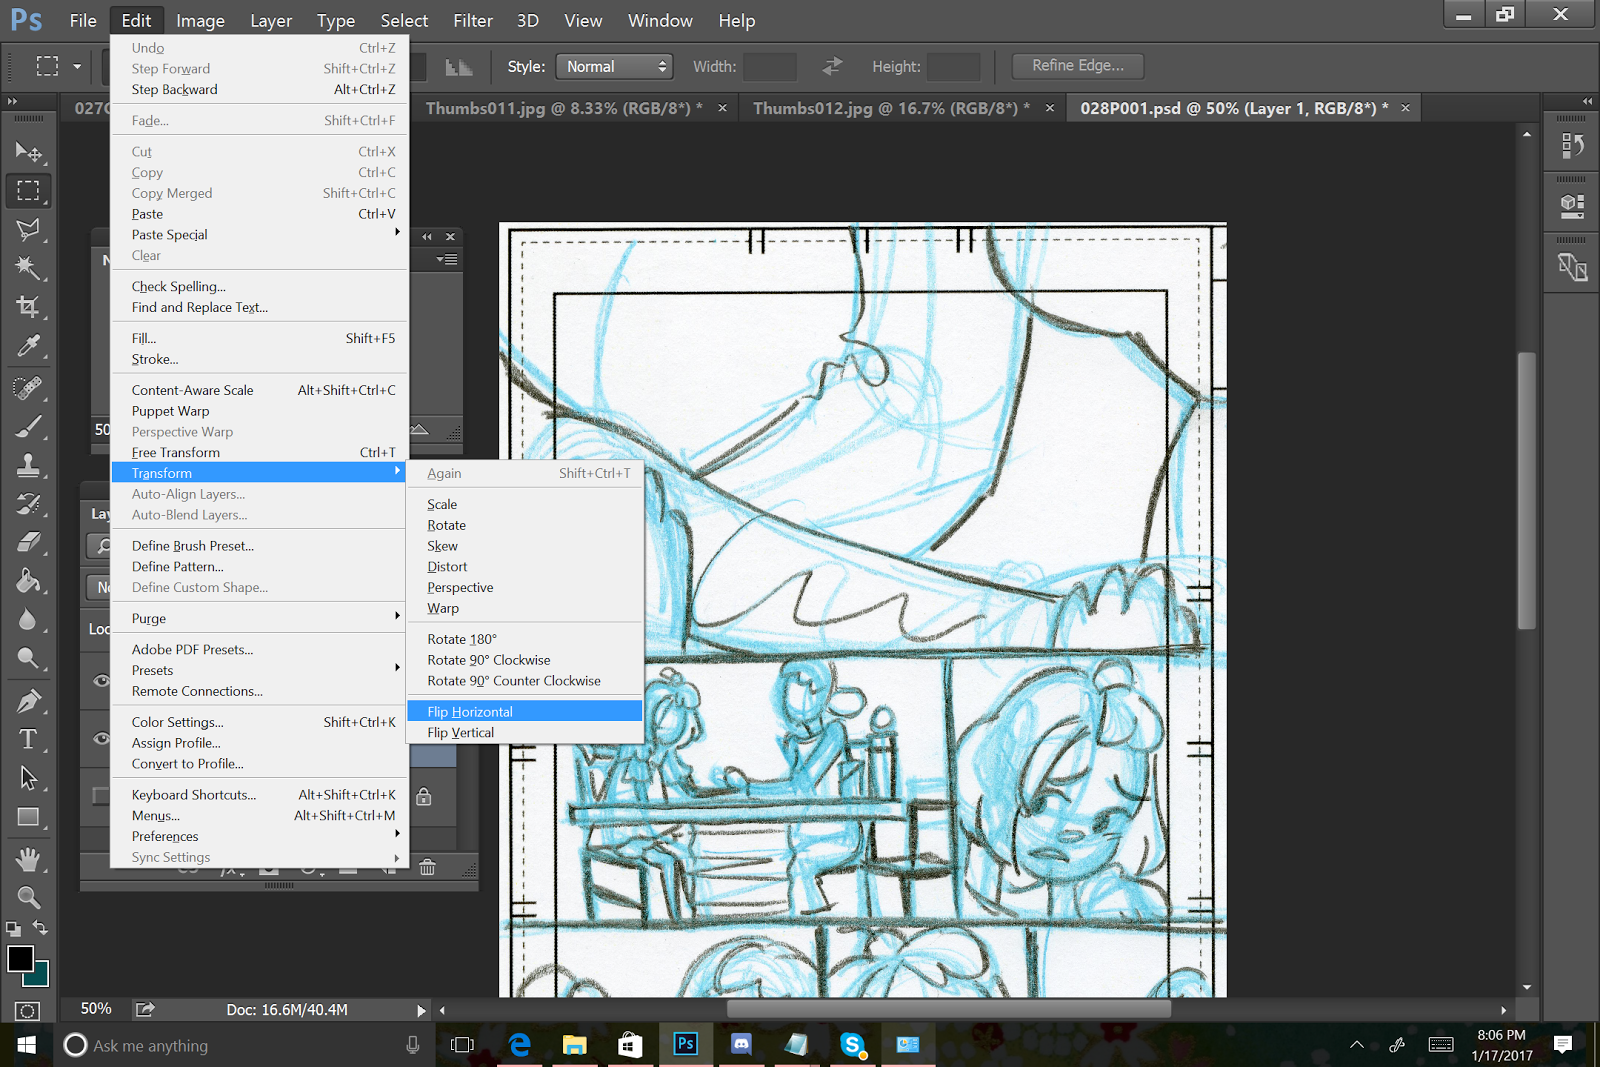
Go to Edit: Transform: Flip Horizontal
And continue this method for any other panels that need to be flipped.
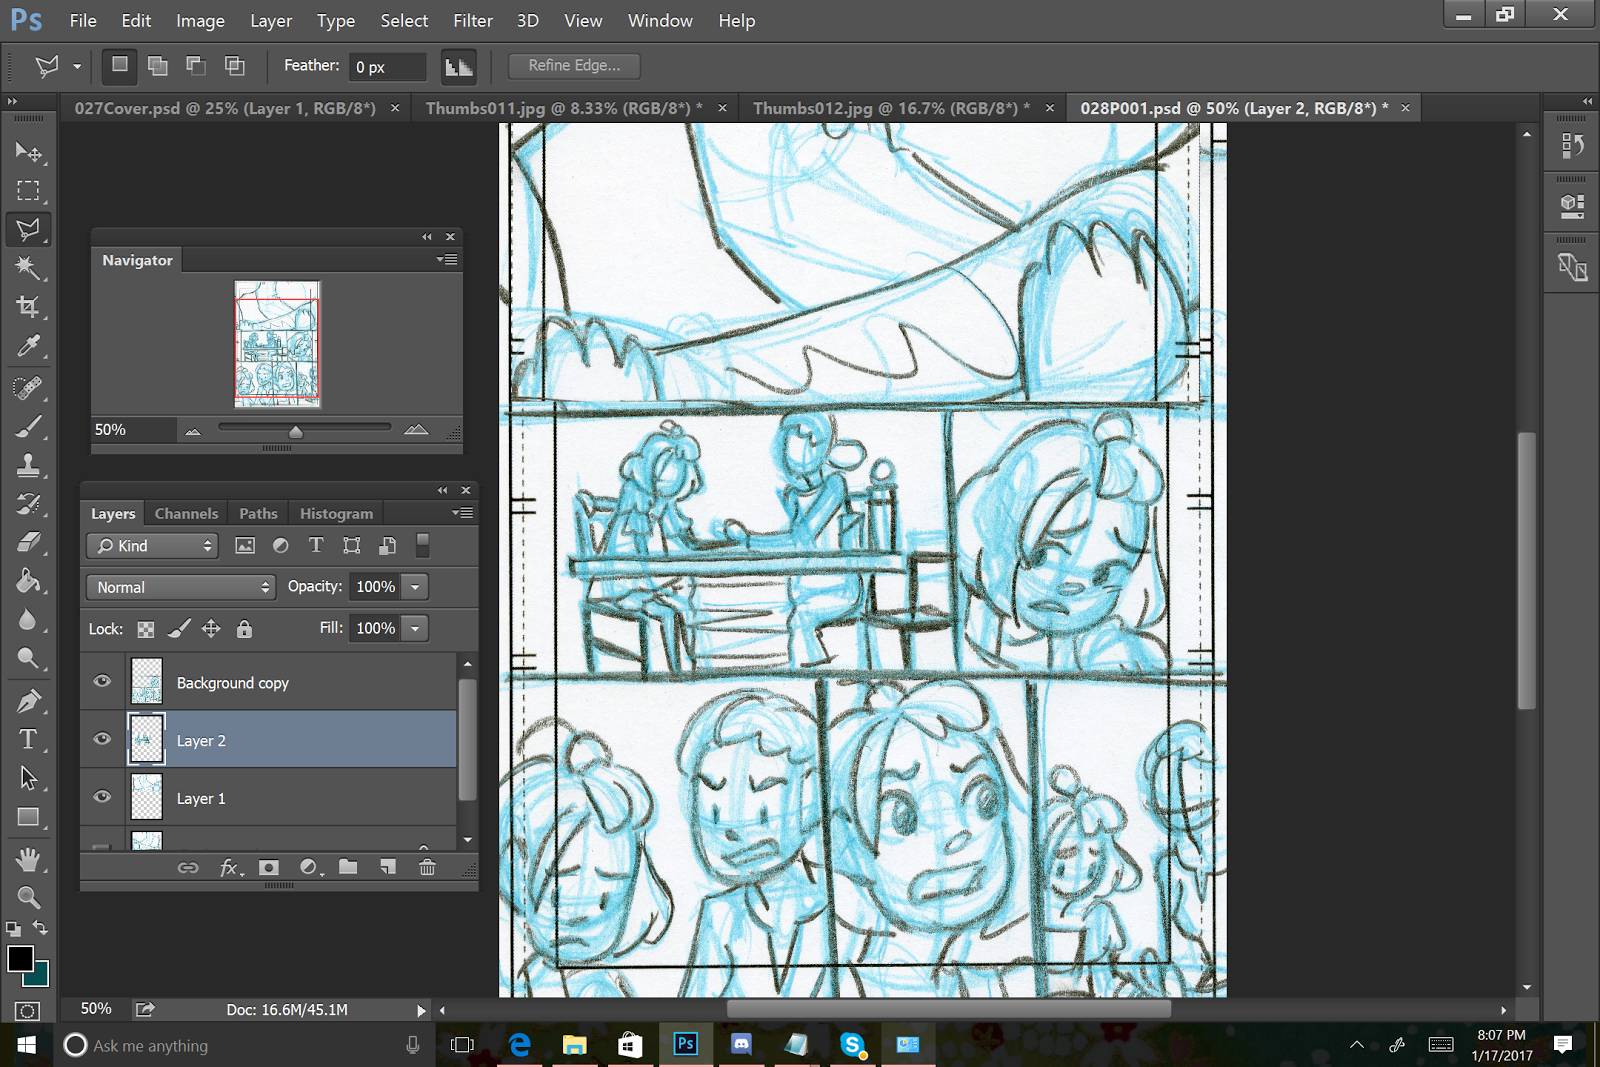


The finished page:
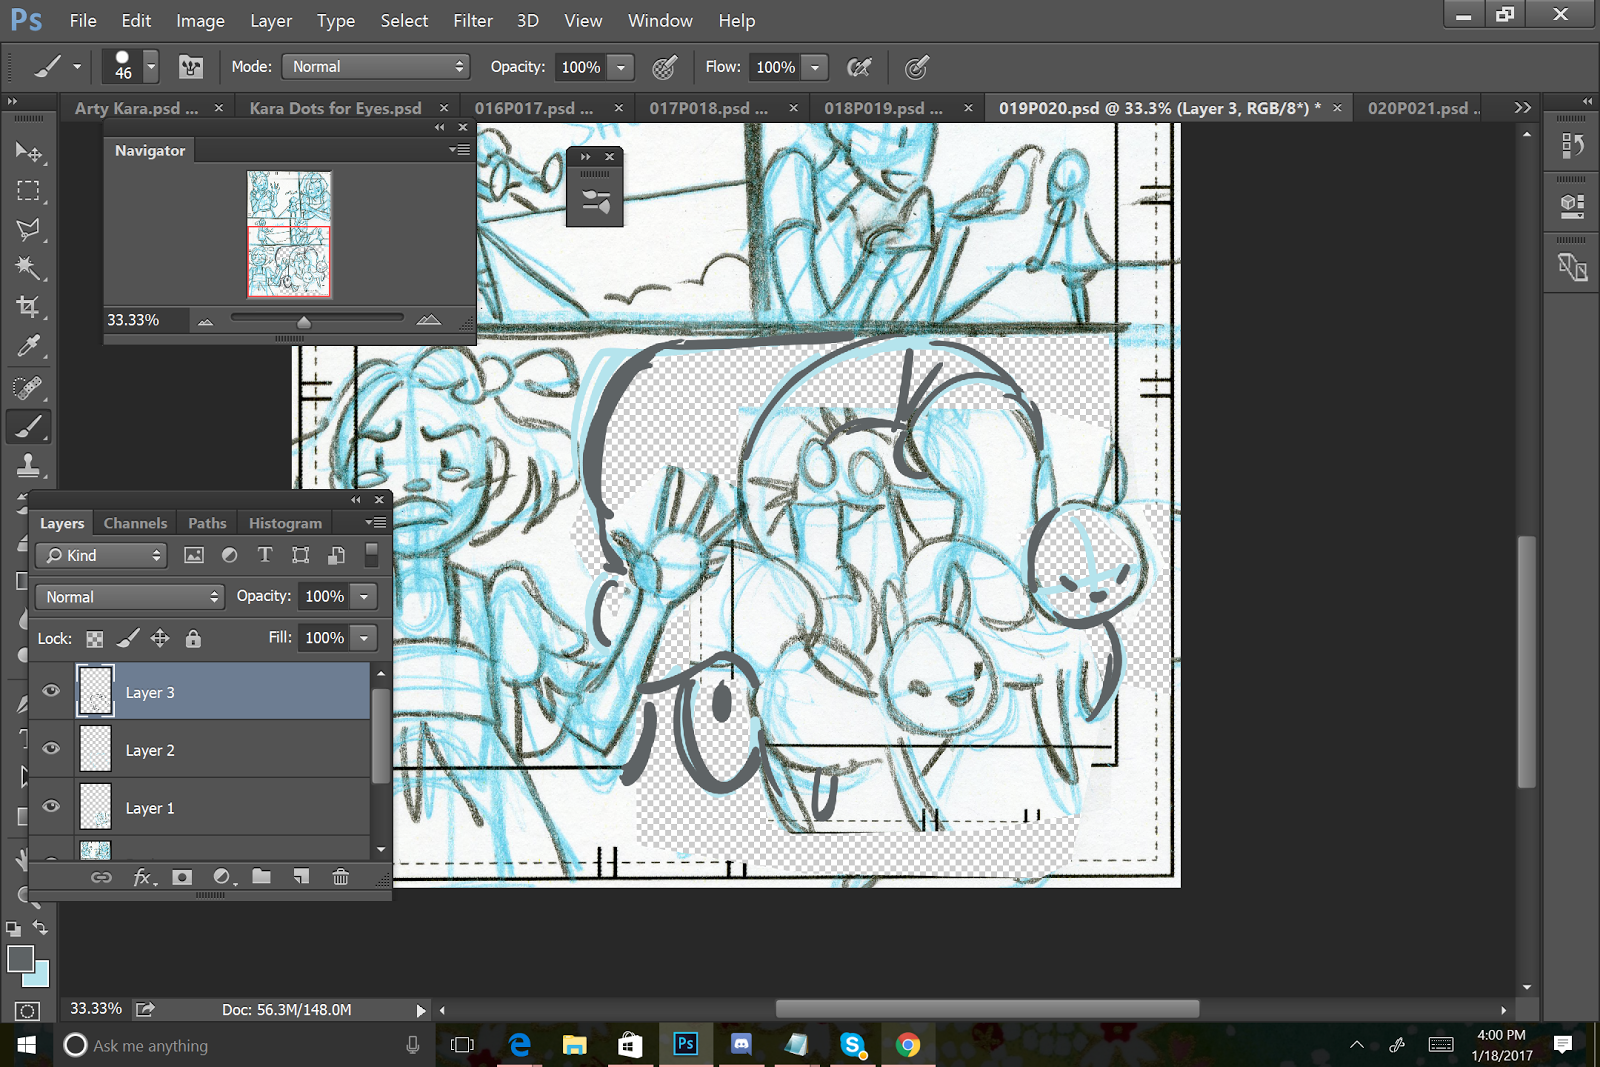
Making Necessary Corrections
Your thumbnails are really just a guide for how you want your comic to look, feel, and progress. They aren't a finished product, and shouldn't remain static- they're yours to change! Making changes digitally is faster than redrawing thumbnails over and over again.

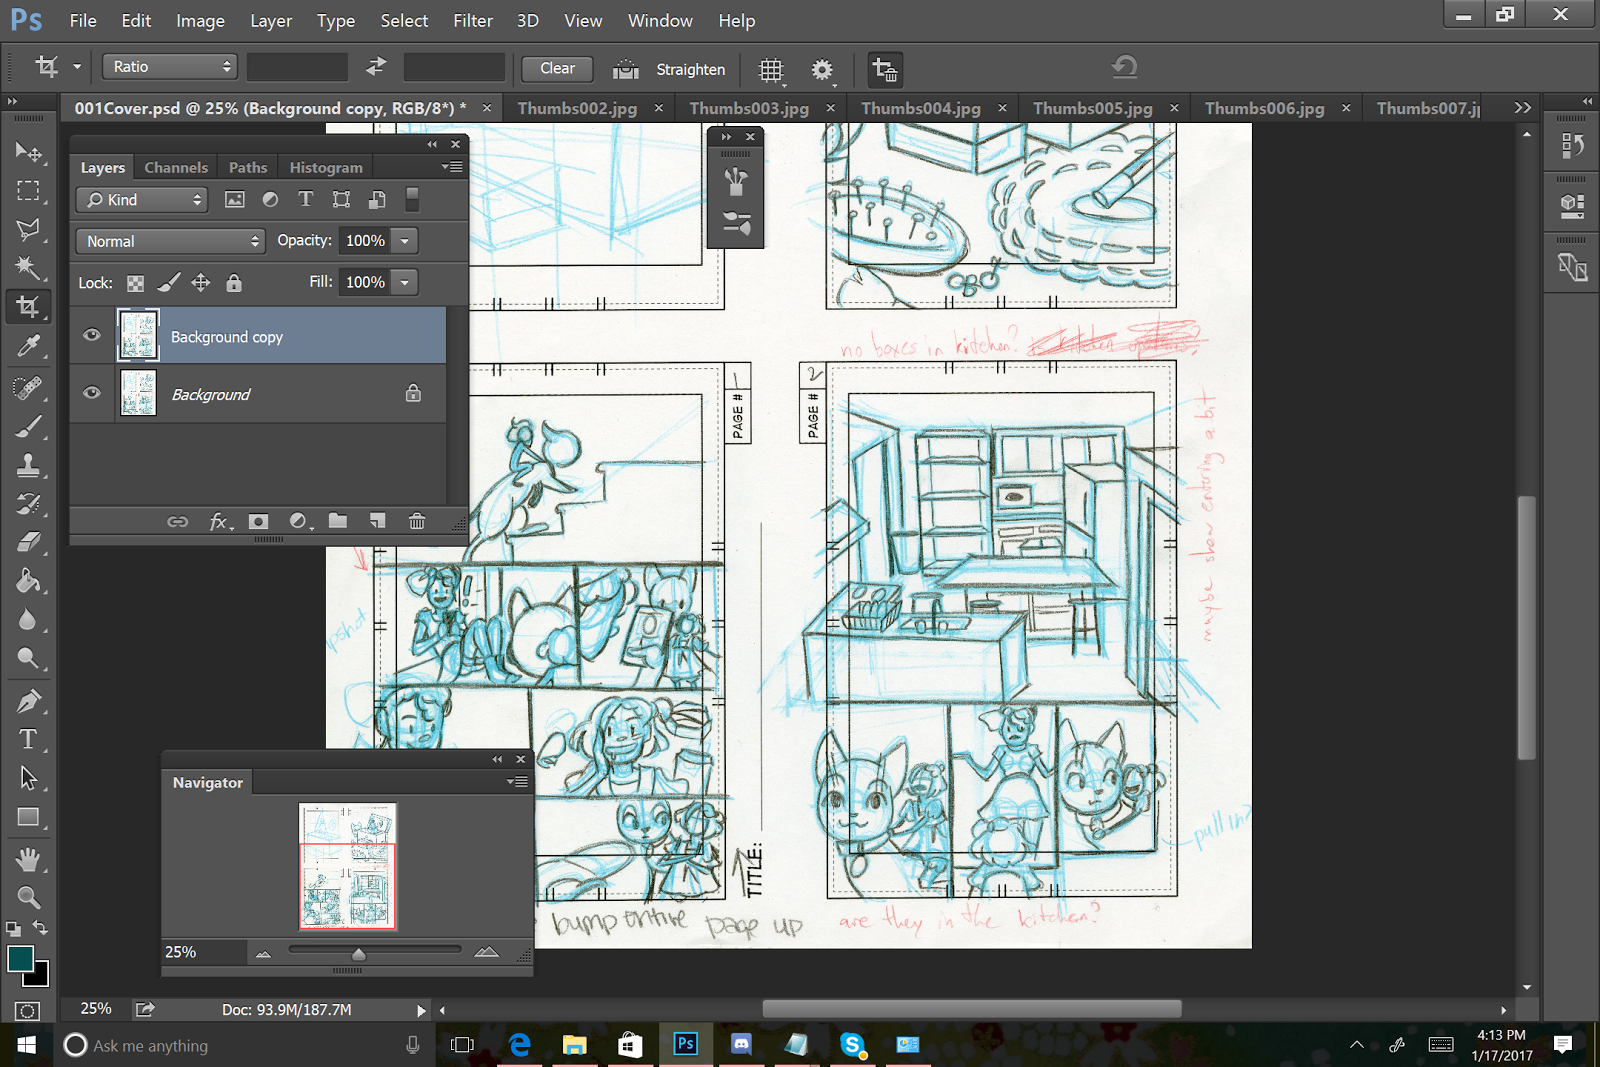
In this panel, I want the squirrels to move towards the right, to the outside of the page.

So I cut them out using the method described above (copy, then delete)

Turn my other layers off, so only the squirrels remain, and use edit/transform/horizontal flip to flip the squirrels to the other direction.

They're also a bit too large, so I go ahead and resize them.
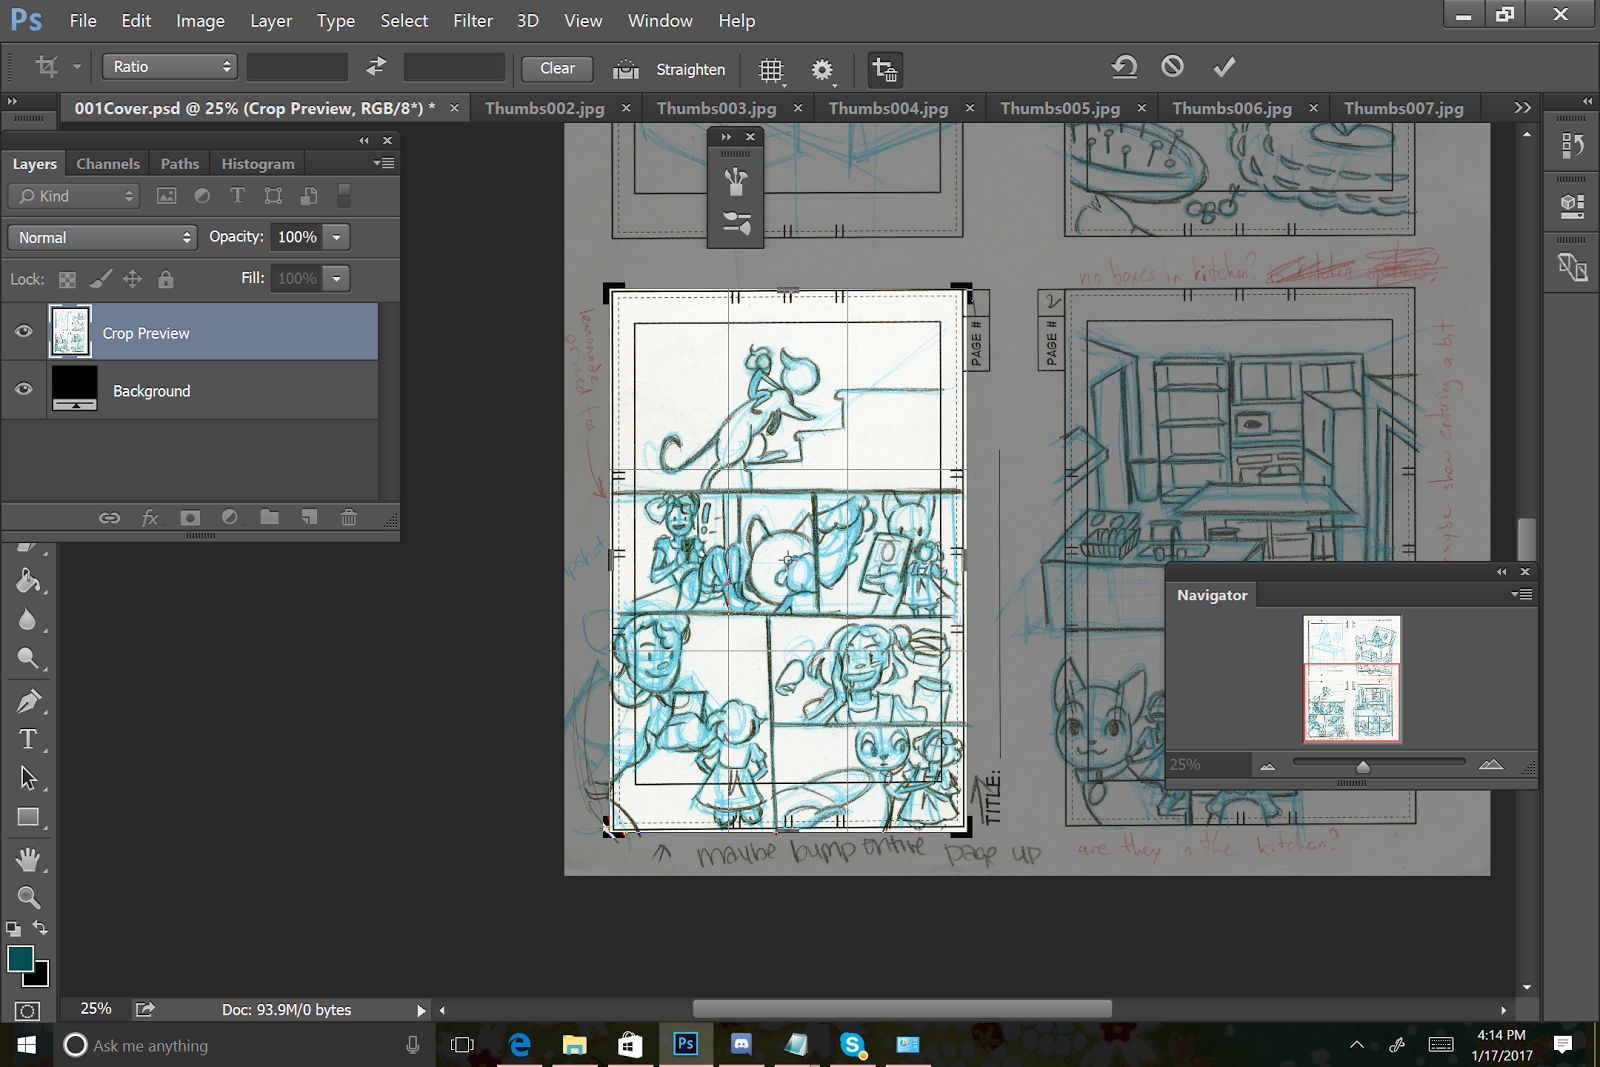
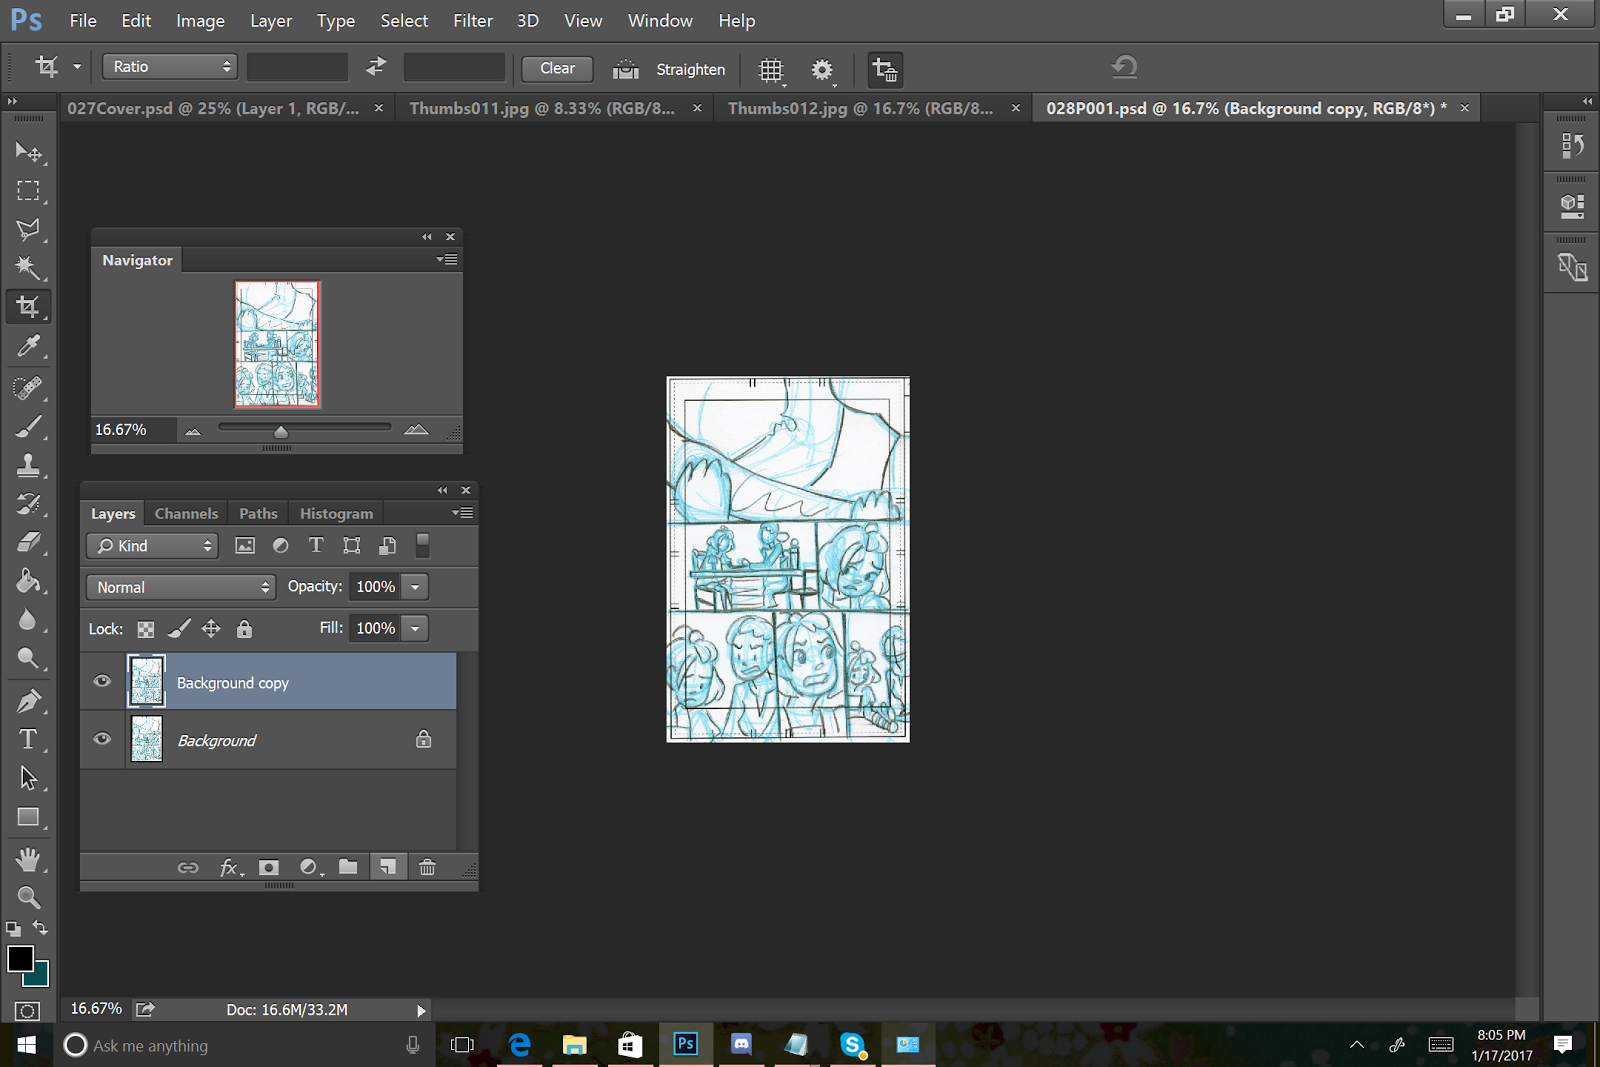
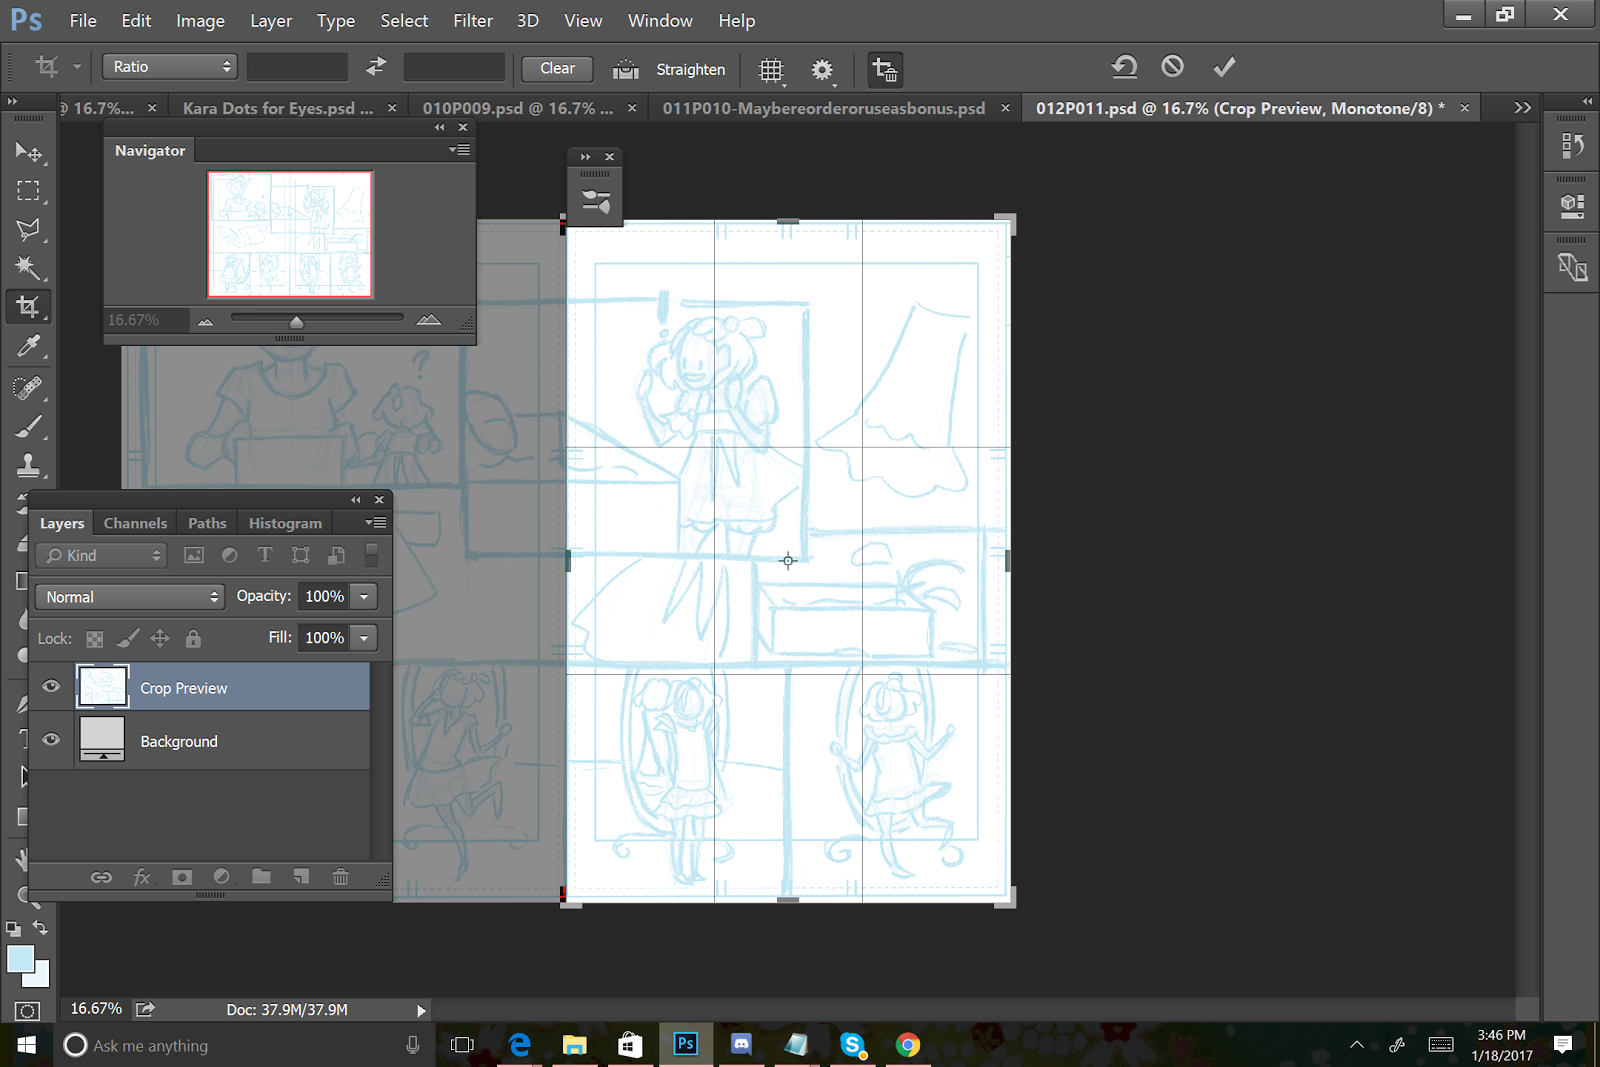
Split Up Spreads
For printing purposes, I prefer to split my spreads onto two pages- but if you're using a large format printer, and have legal-size sheets of copier paper, you can opt to keep your spreads together.
Splitting spreads is easy! I use the crop tool, and simply crop each page after converting the whole spread to bluelines (covered later in this post, fear not!).
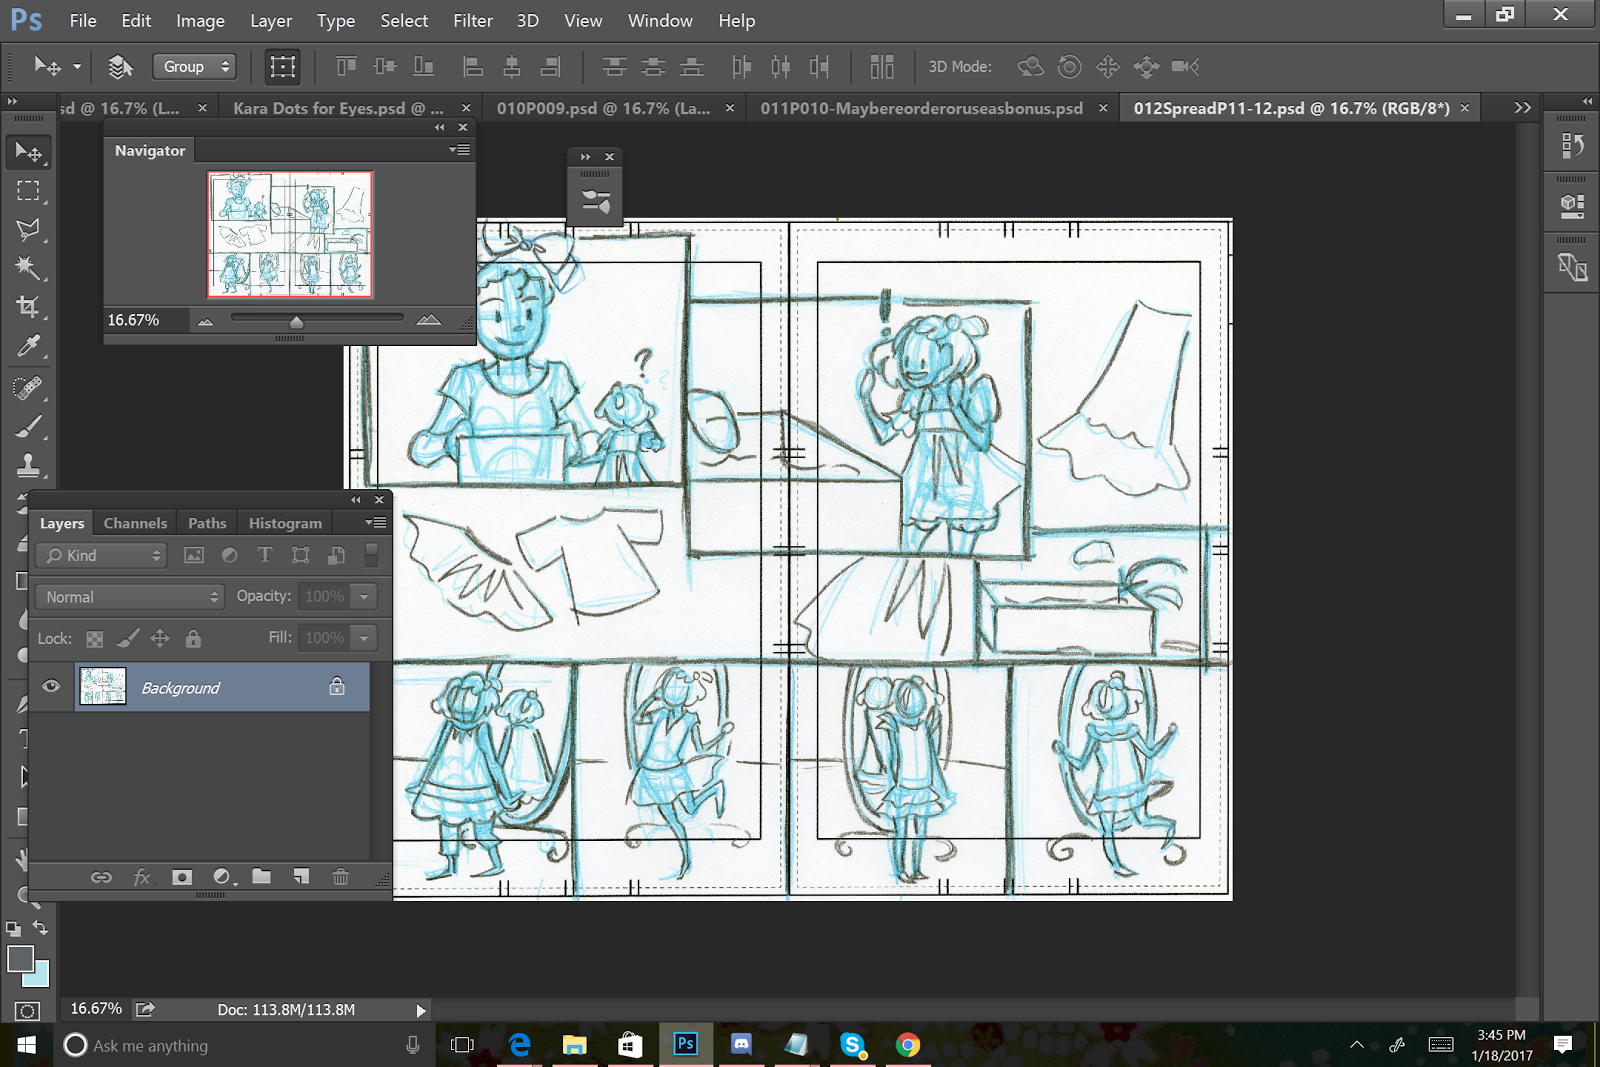


Each spread page is saved individually at this point.
To get back to my spread, I just hit undo a couple times, until the spread is on the screen again, and repeat the process for the other page.
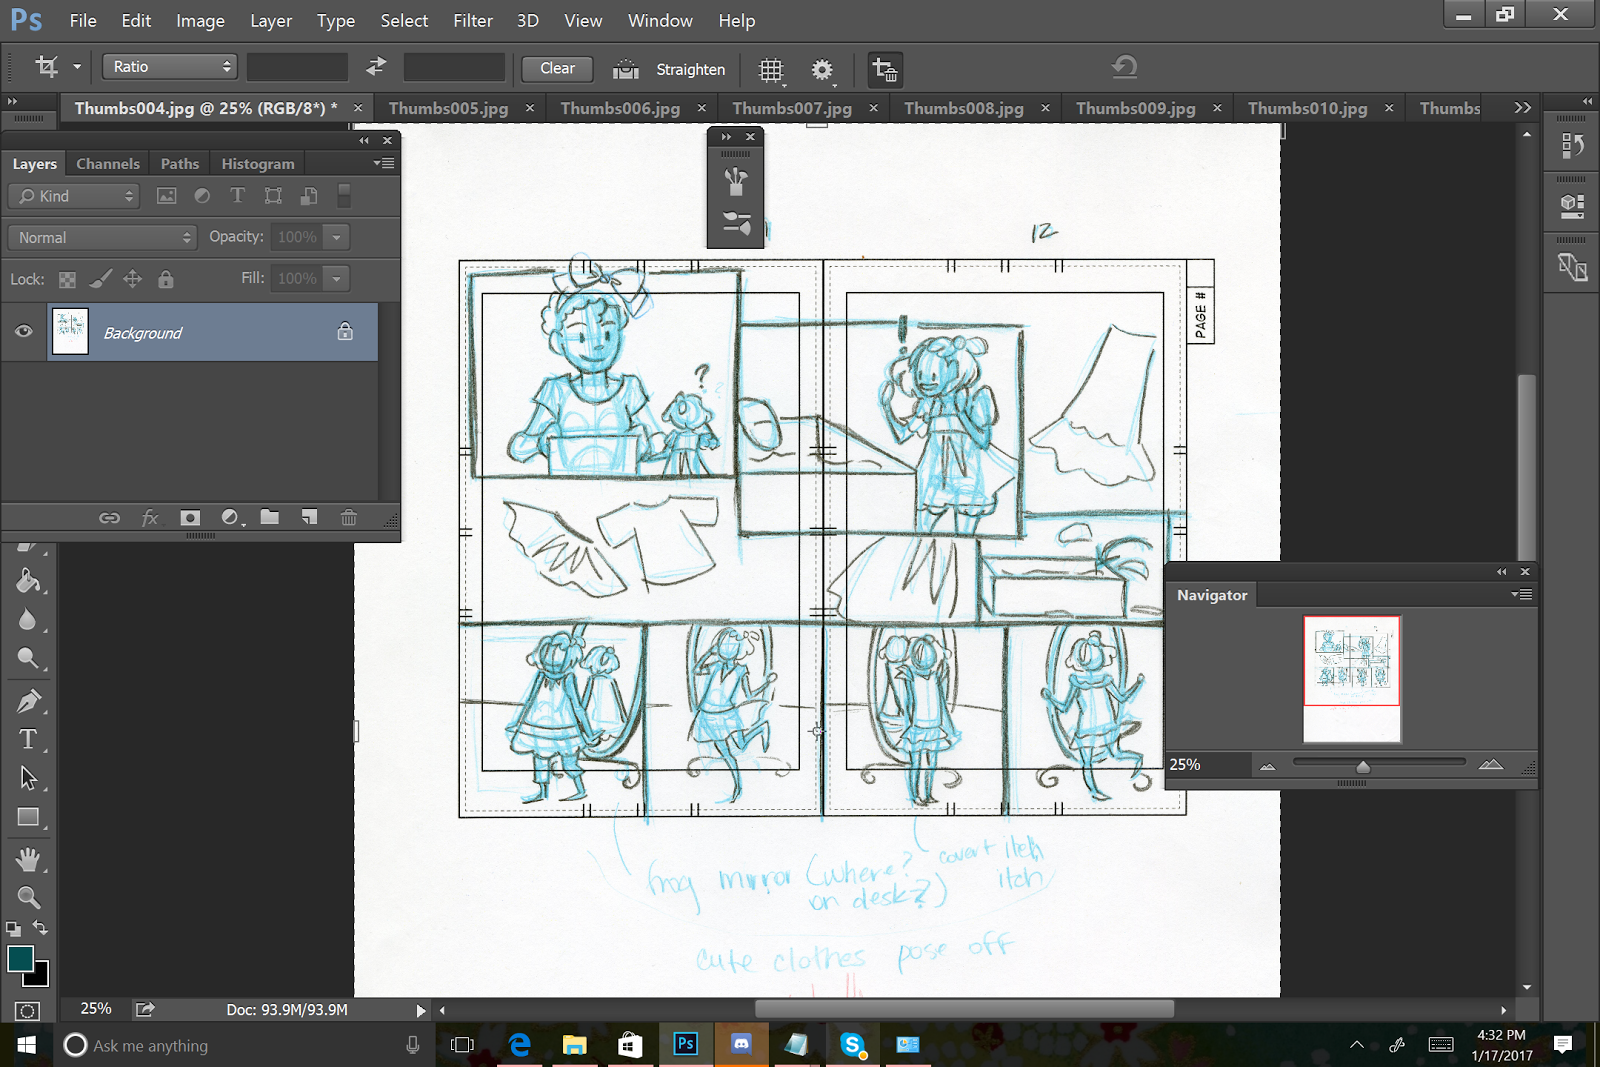
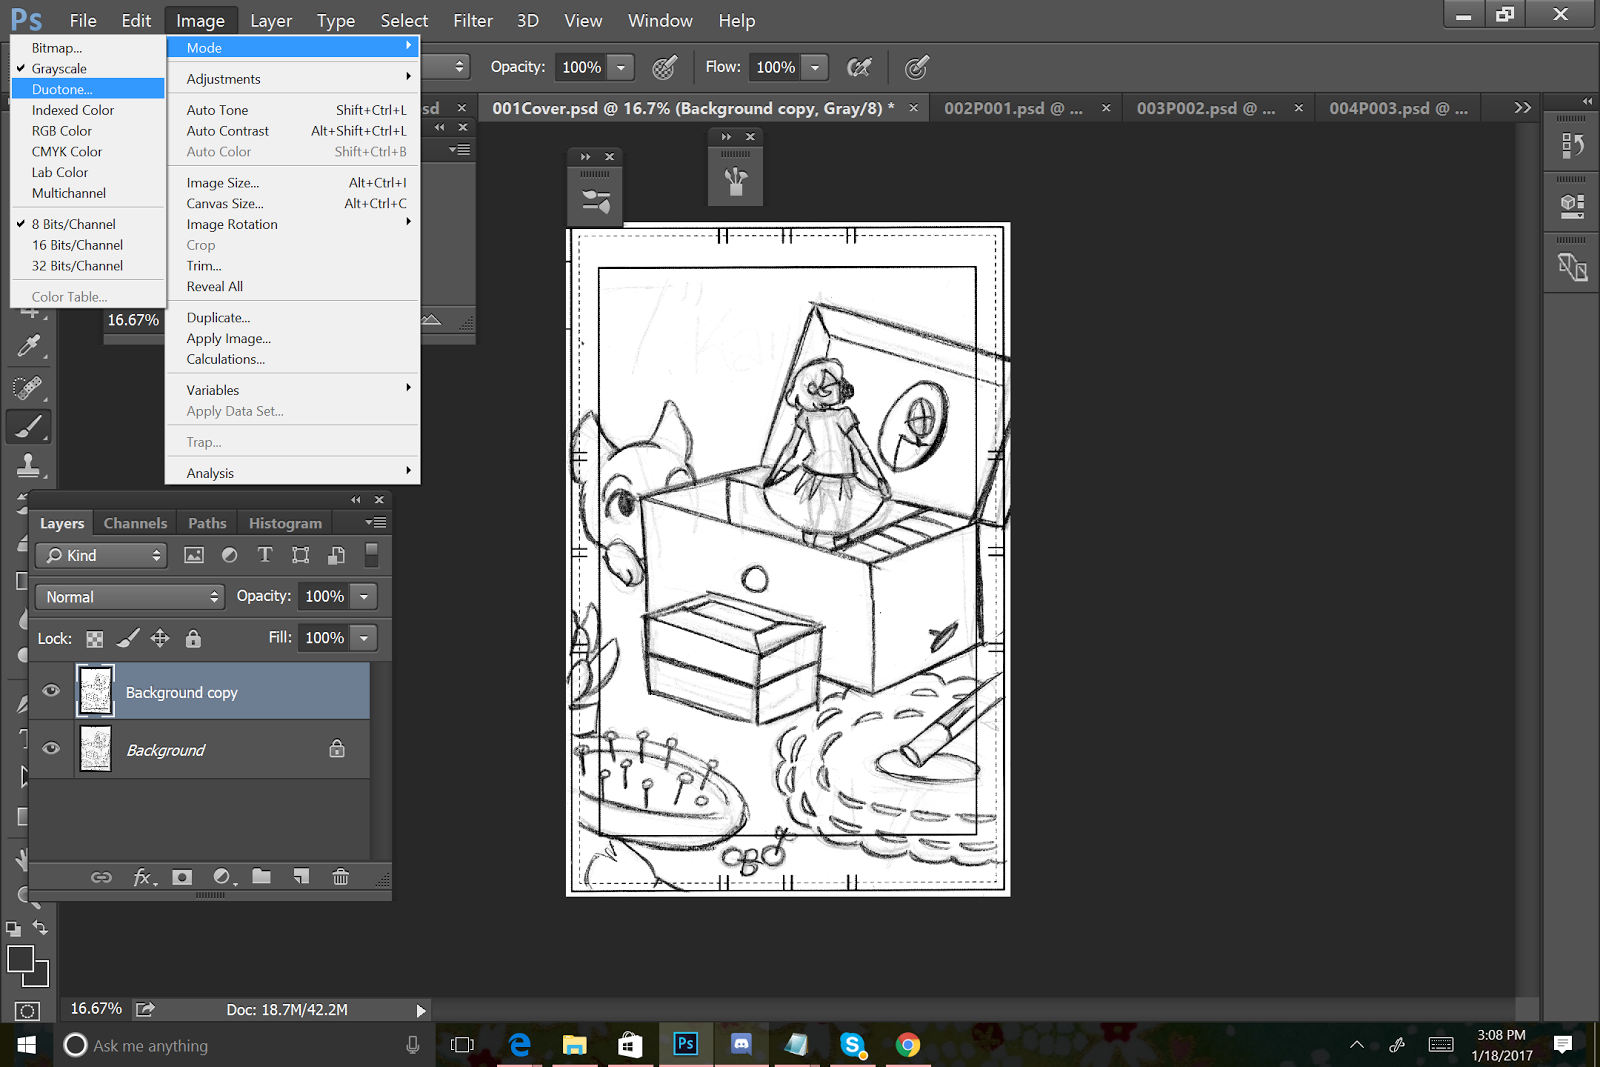
Convert thumbnails to grayscale

Go to: Image/Adjustments/Grayscale
When it asks about discarding coloring information, select ok.
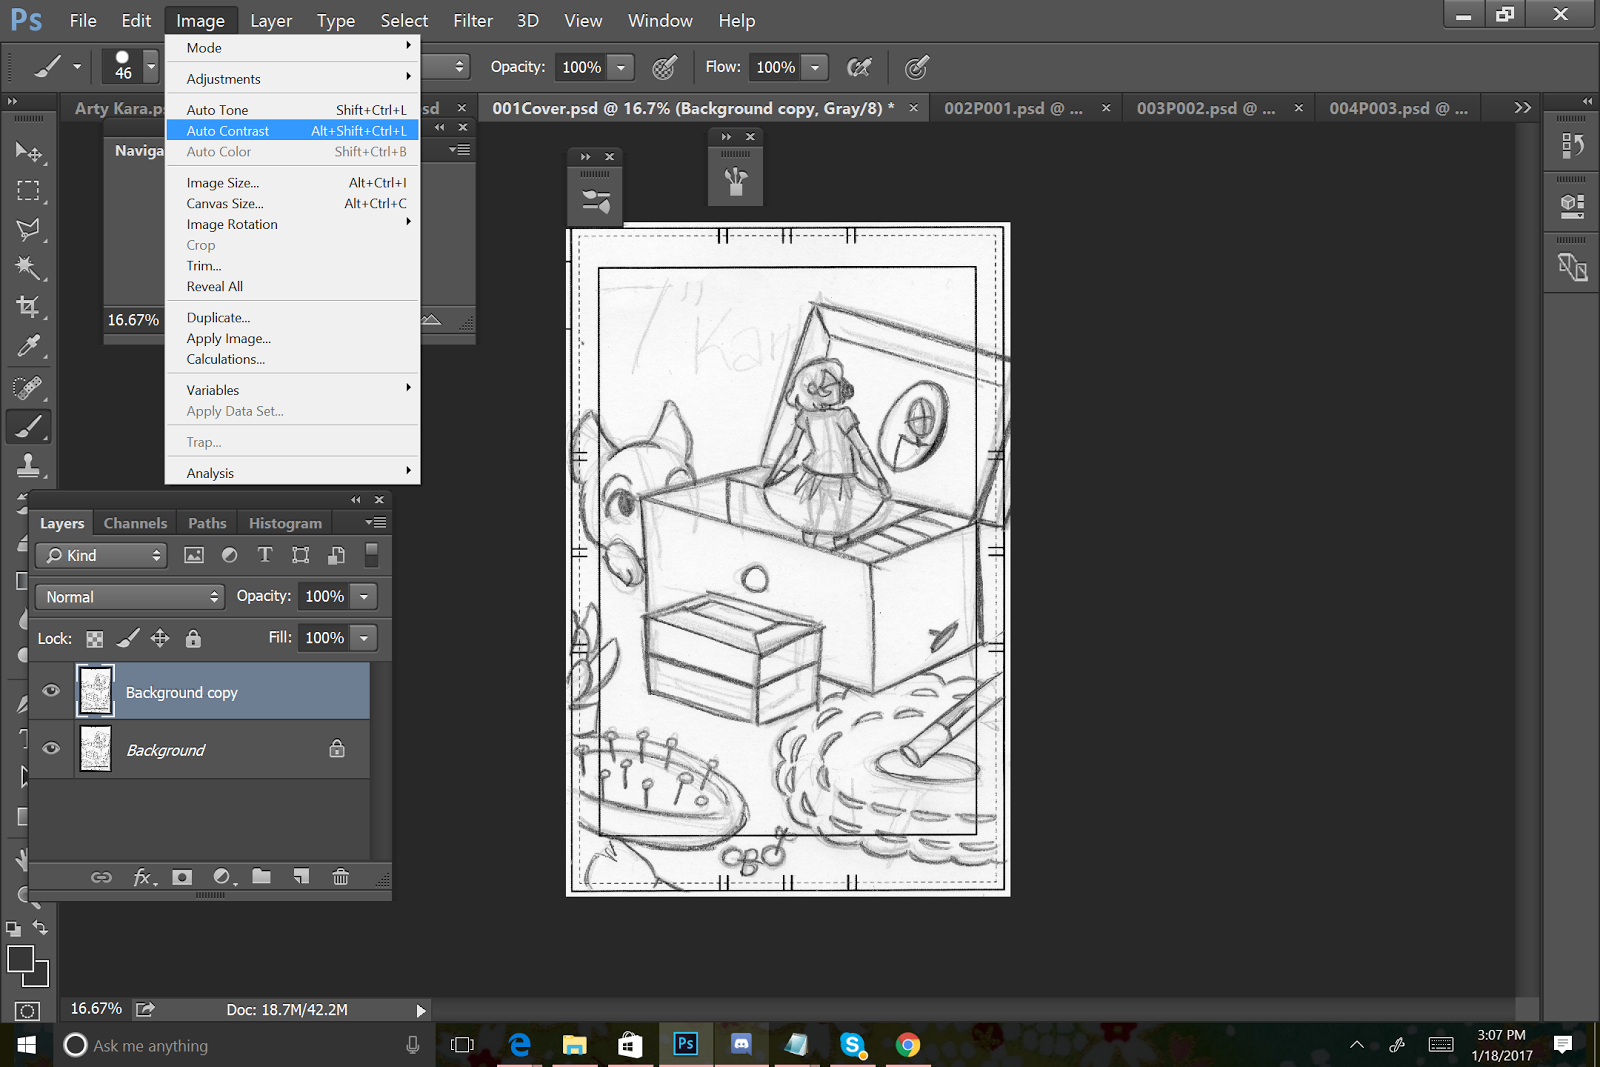
For minor bumps in contrast:
Image/AutoContrast
Bump Up Contrast
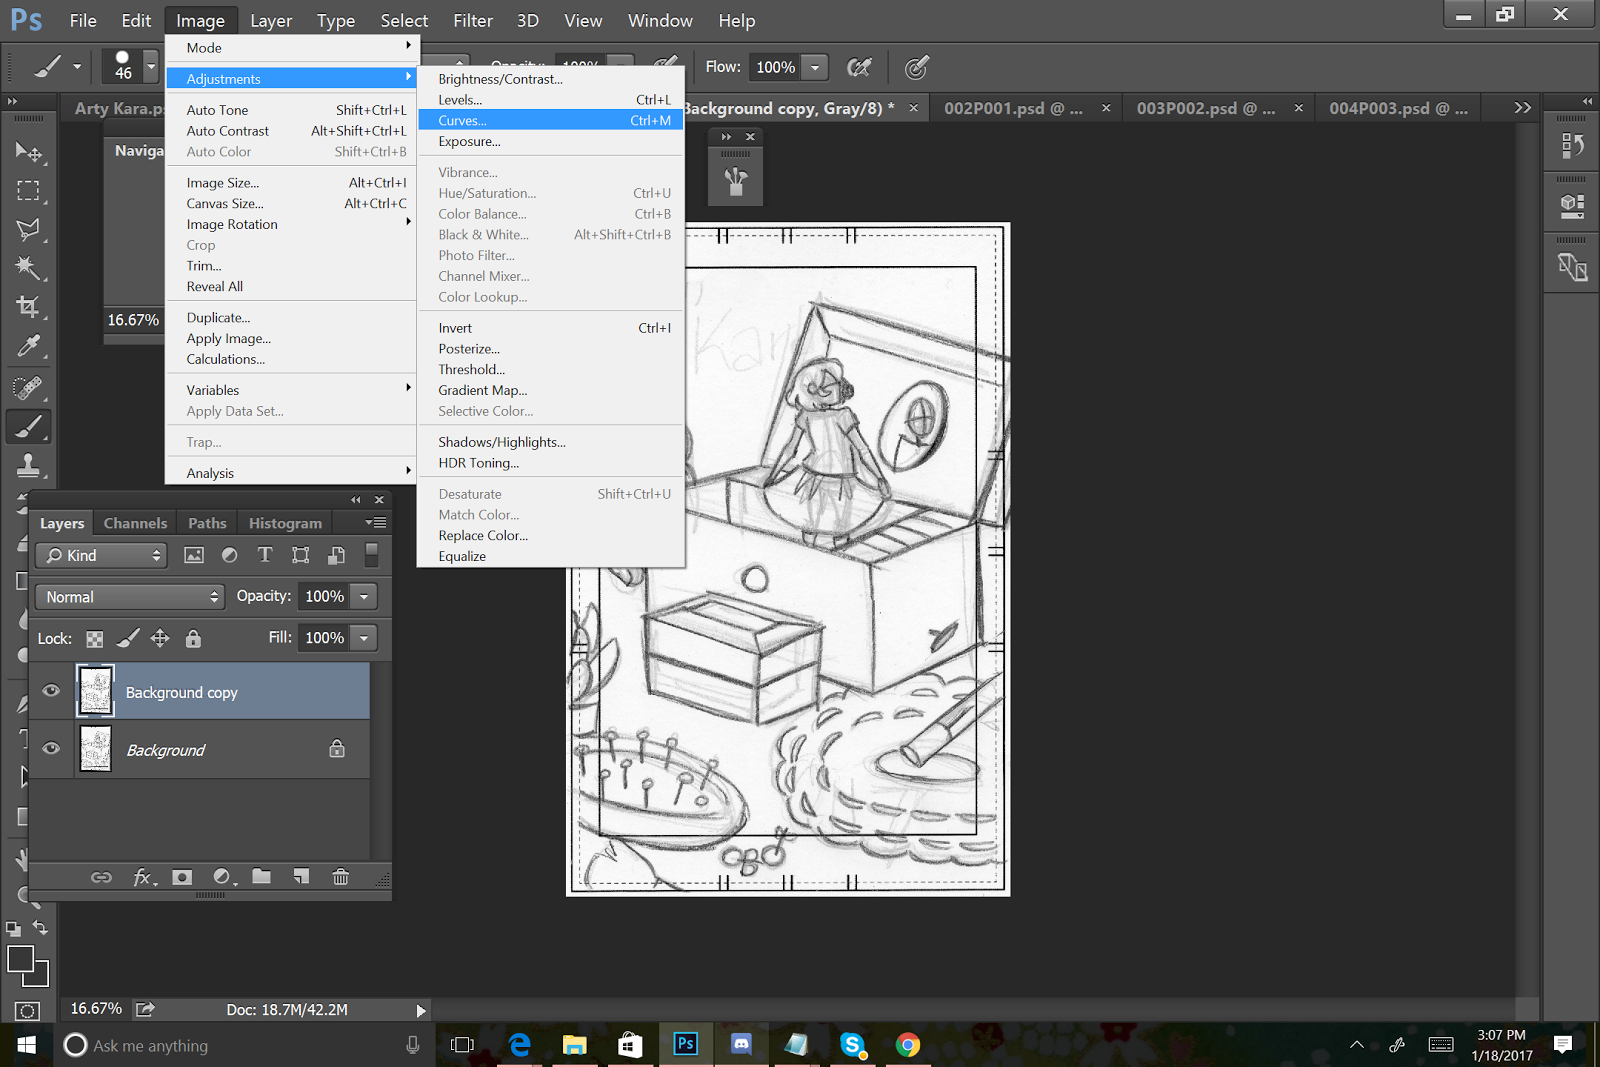
To really bump up the contrast and get rid of 'ghost lines', go to
Image/Curves while in Grayscale mode.
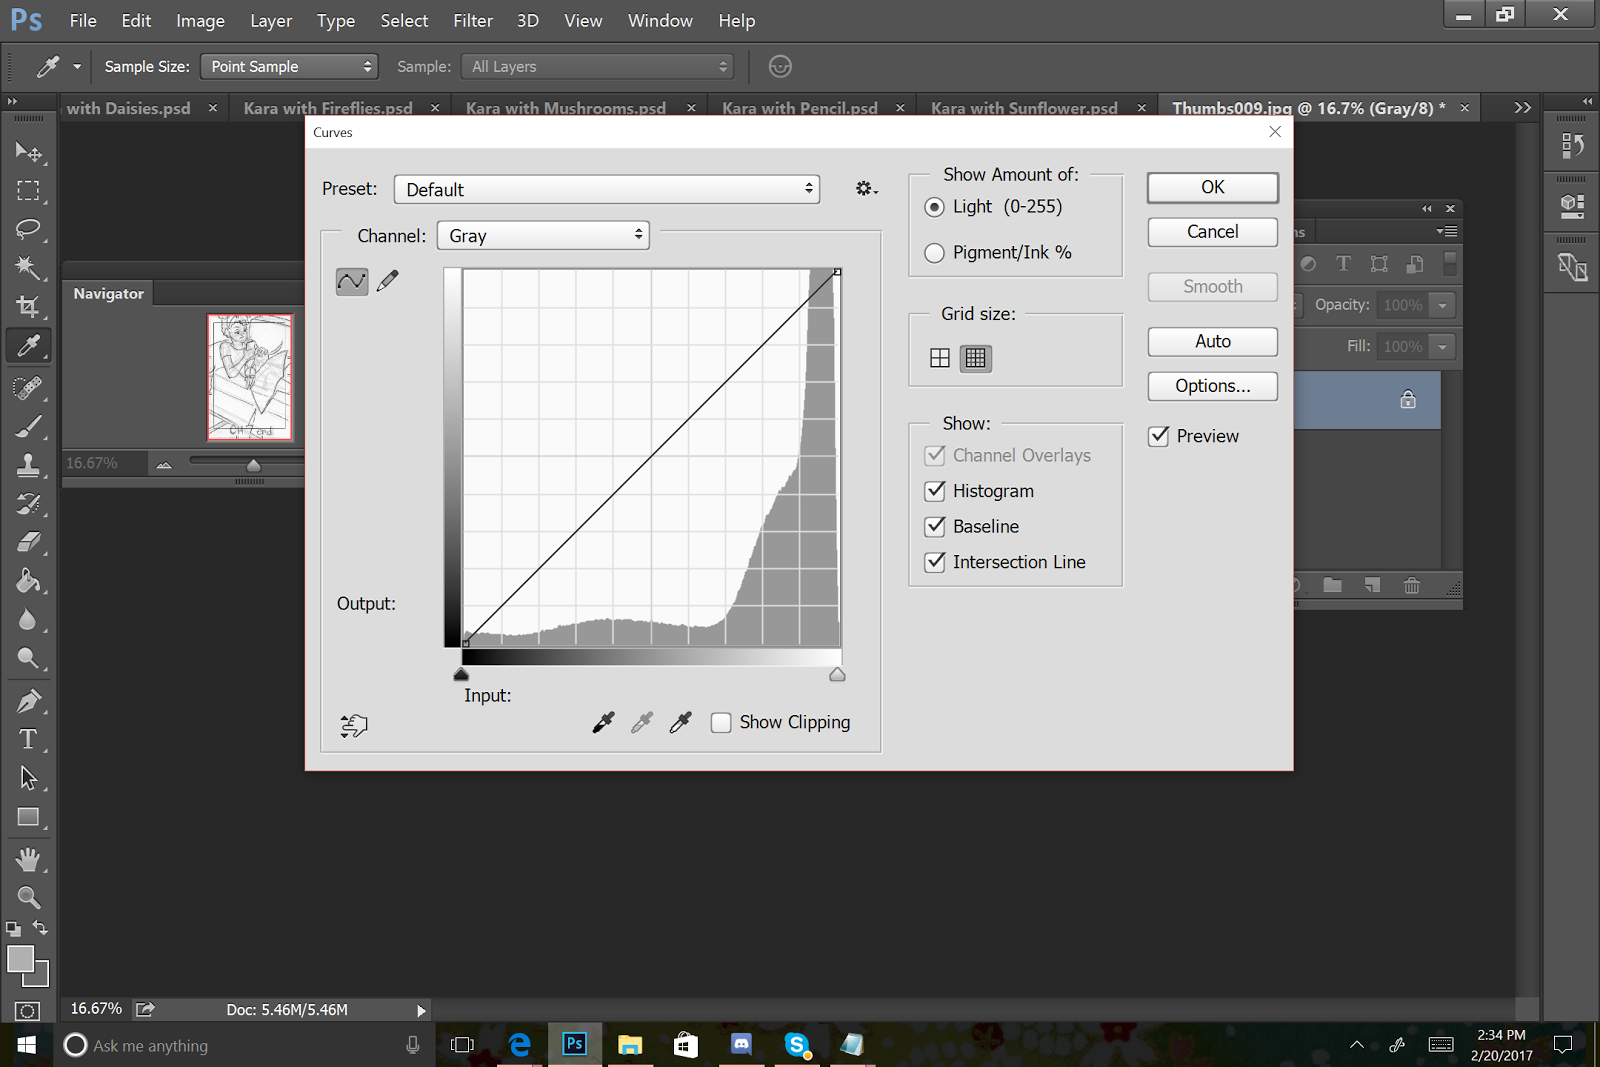
This graph will appear. Drag a point all the way down to the bottom on the left hand side, and a point all the way to the top on the right hand side.
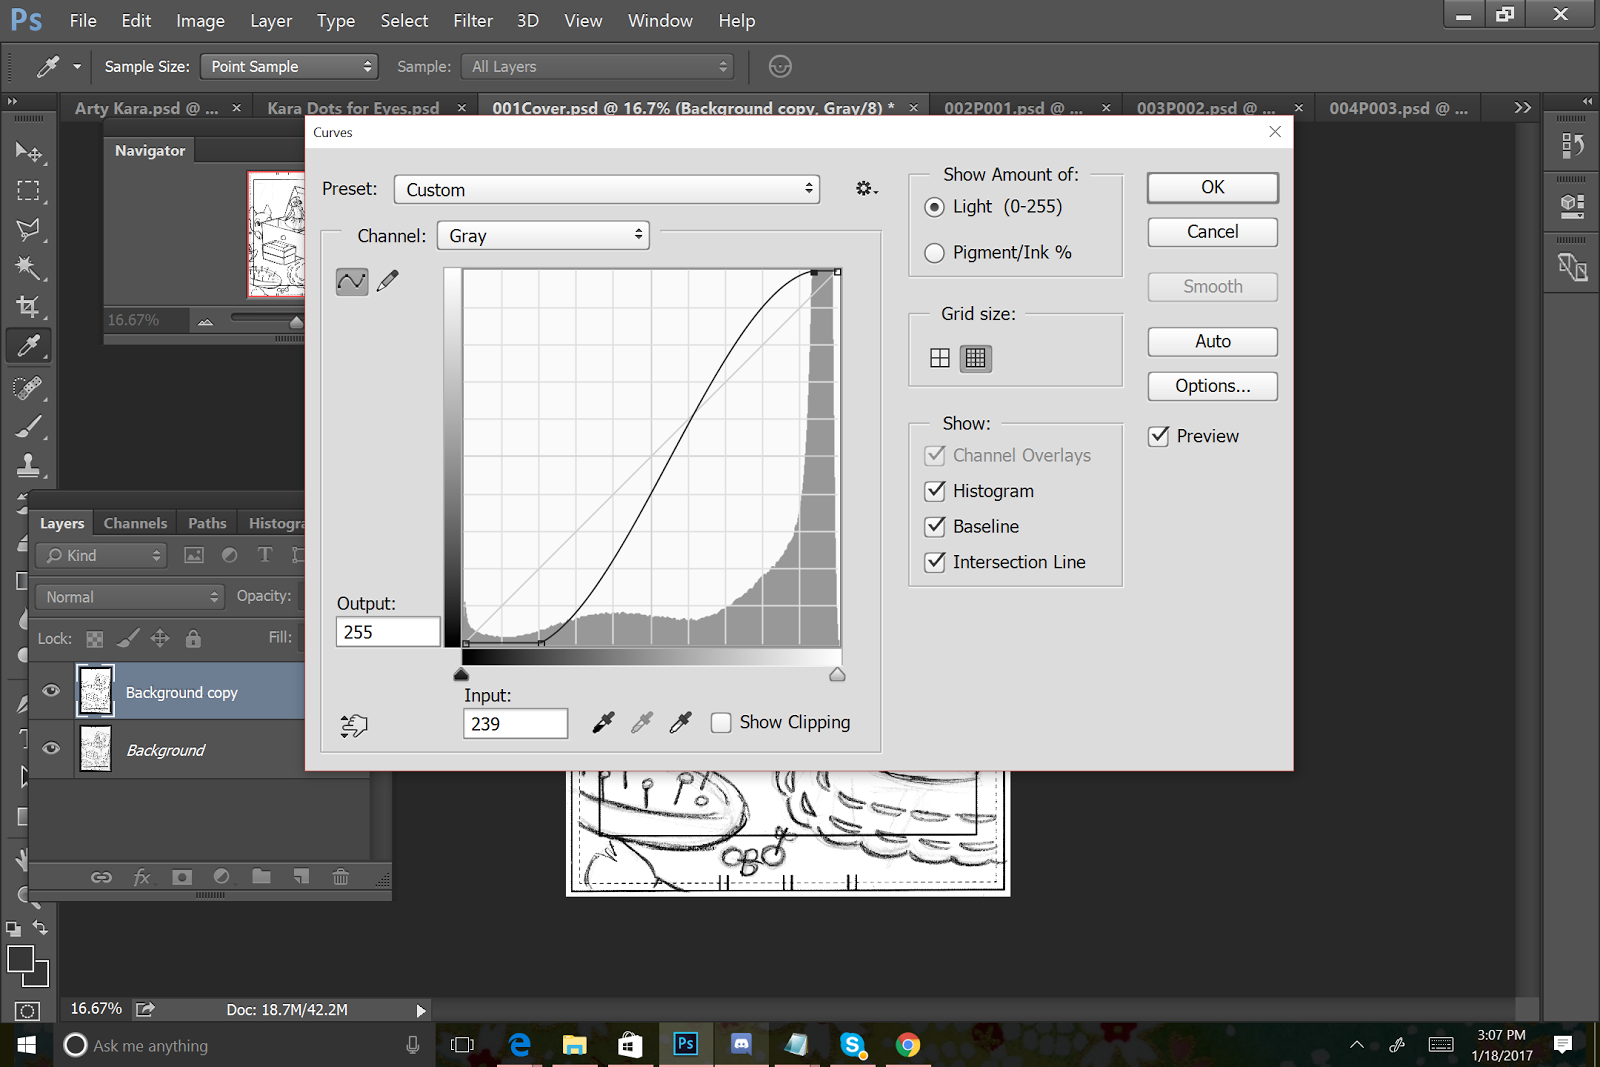
You're basically bumping the whites all the way up, and the darks all the way up. You may want to mess around with where your points are on the graph for optimal contrast.
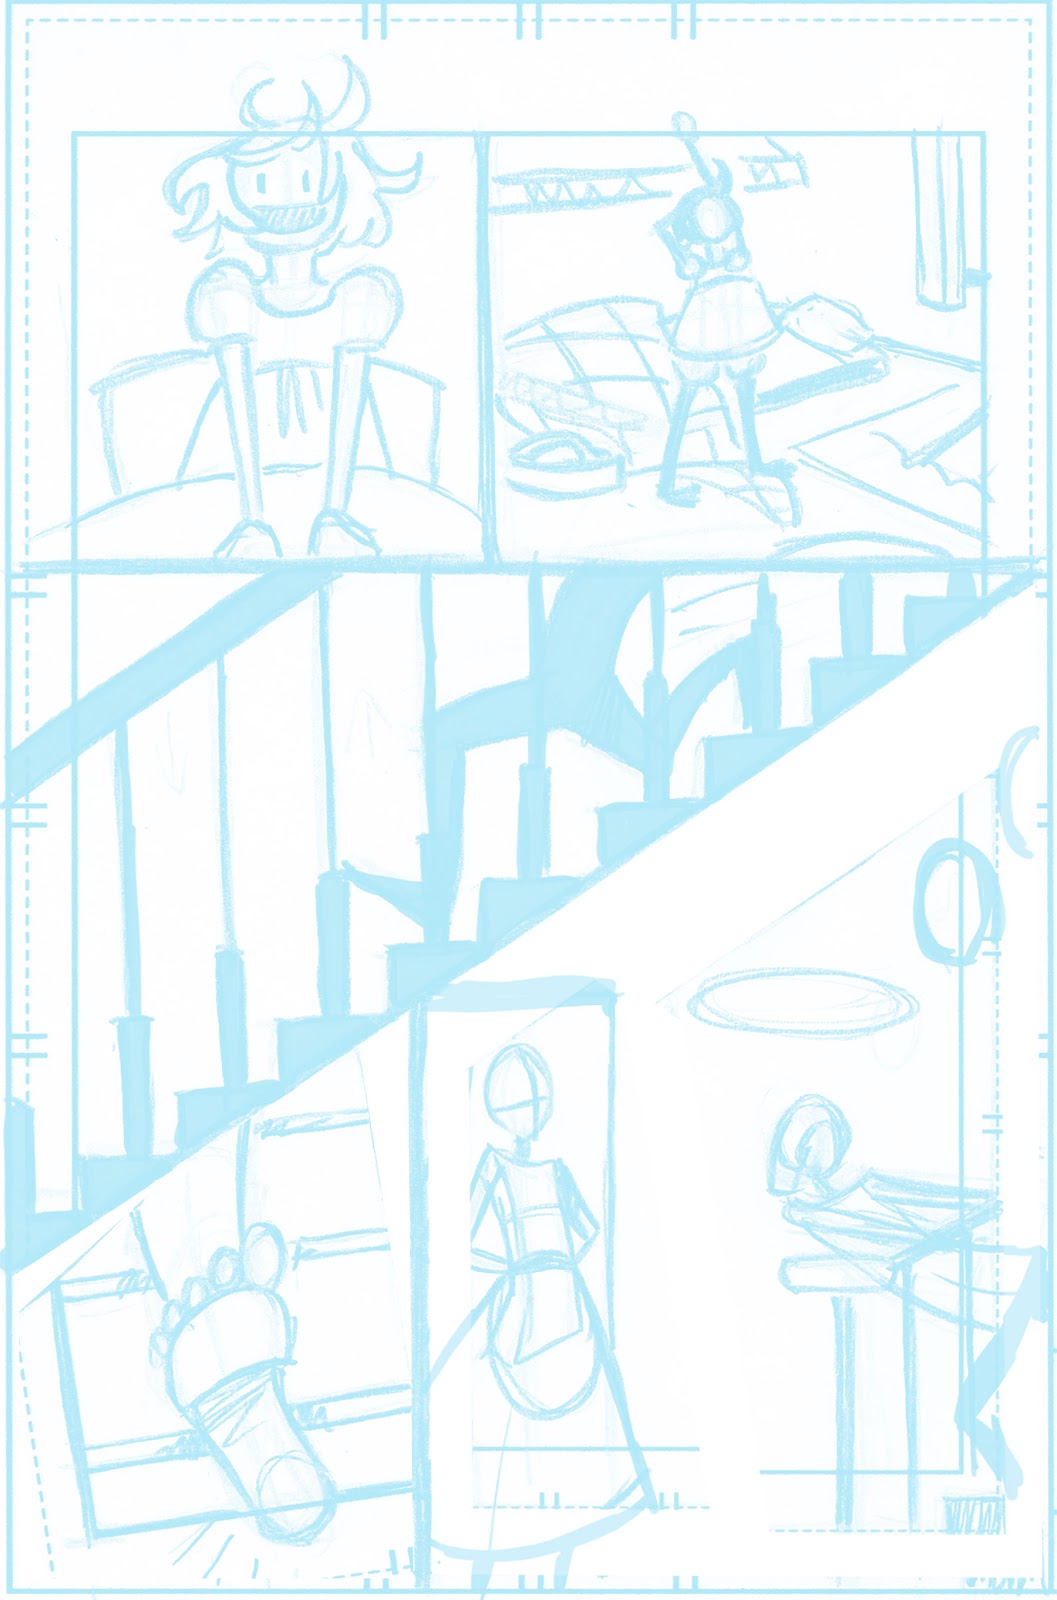
Convert to Bluelines
Before printing out my brand new, resized roughs, I need to convert the files to non photo blue.
Why bluelines?
My bluelines serve as a barely visible guideline that helps me redraw my images accurately and quickly. In the past, I used to redraw my images from scratch (thumbnails-roughs-pencils), and wound up frustrated that my thumbnails had the best compositions, and that I could not recreate those compositions. Bluelines allows me to keep the things that work (redrawing it in blue pencil and graphite, of course), and redraw the things that don't.
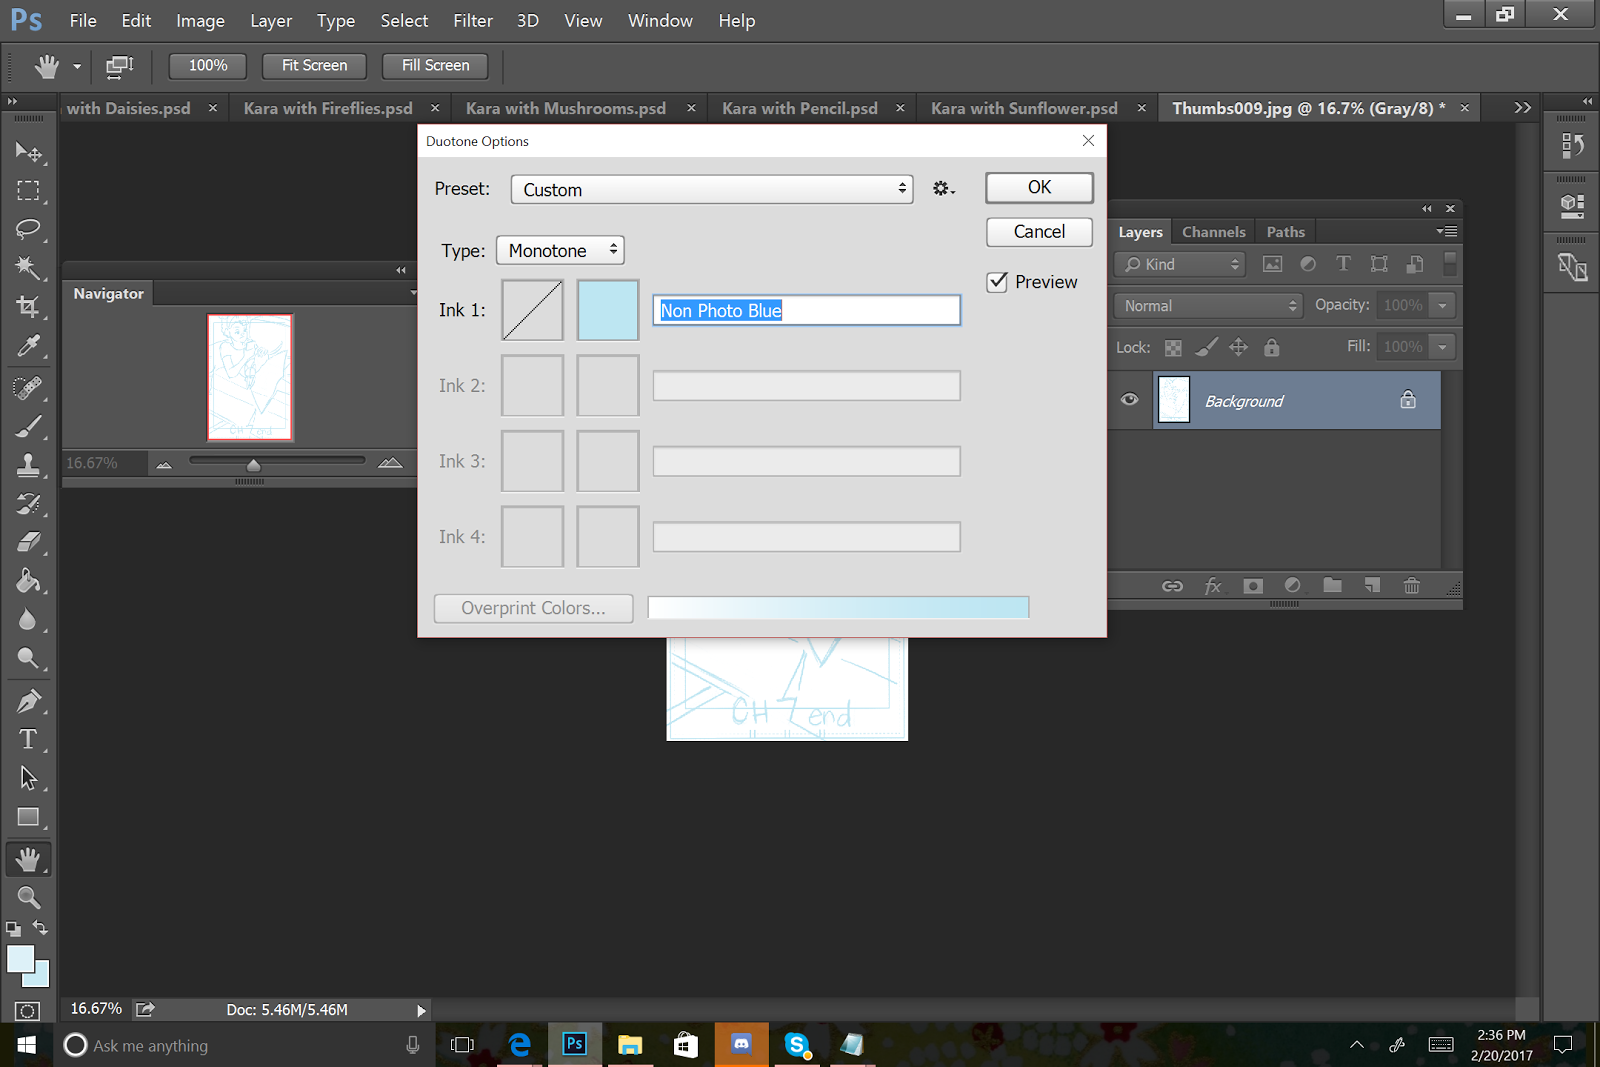
To convert your image to bluelines:
Go to Image/Mode/Duotone.
The first time you go to duotone, you're going to need to set it up for bluelines, but you can save the settings.
The most important values are your C, M, Y, and K values, shown on the bottom right.
You want your C to be anywhere from 20-24%, depending on visibility and your printer.
Your M should be 0.
Your Y should be 2-4%, again depending on visibility and your printer.
K should be 0.
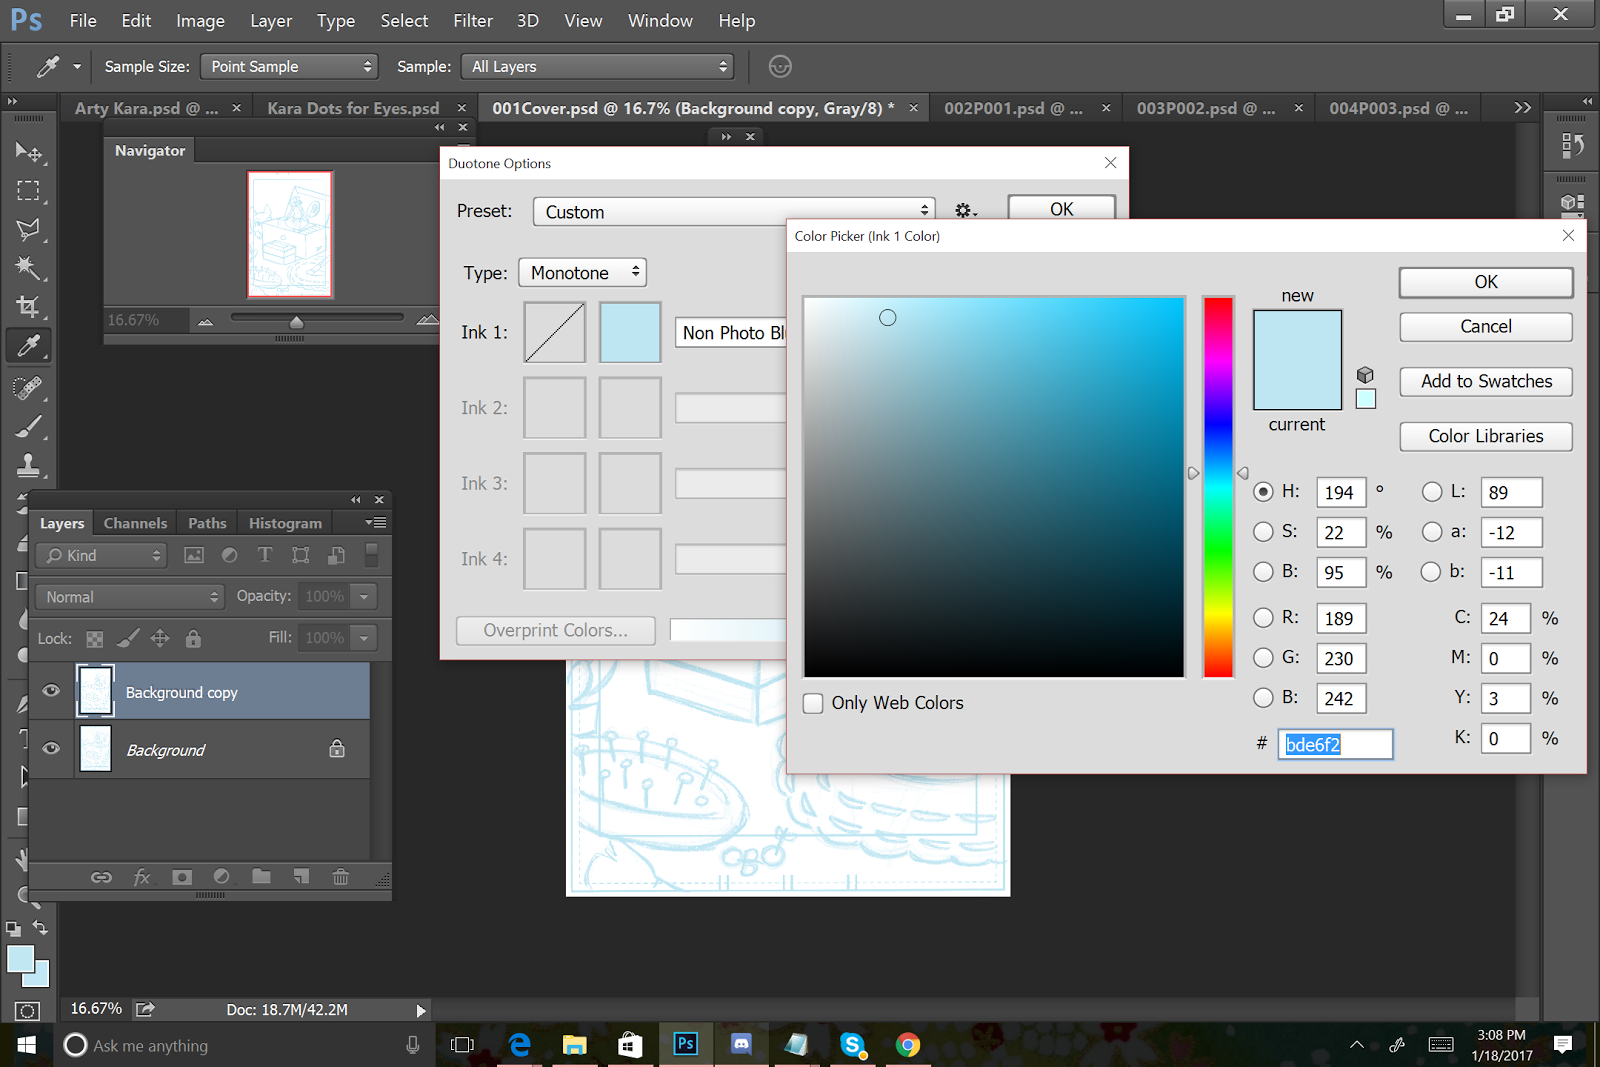
You can save your new duotone setting for future use.

Here's an example page converted to bluelines.

I save these as a separate file.
When printing my chapter, I go ahead and pull up all my newly minted blueline roughs.

Make sure your page size is correct, and if you have a proof setting, or a fast setting, I recommend using that. No point in wasting ink.


And there we have it! A whole new chapter of bluelines, ready to be roughed.
Example from Chapter 6
Thumbnails:
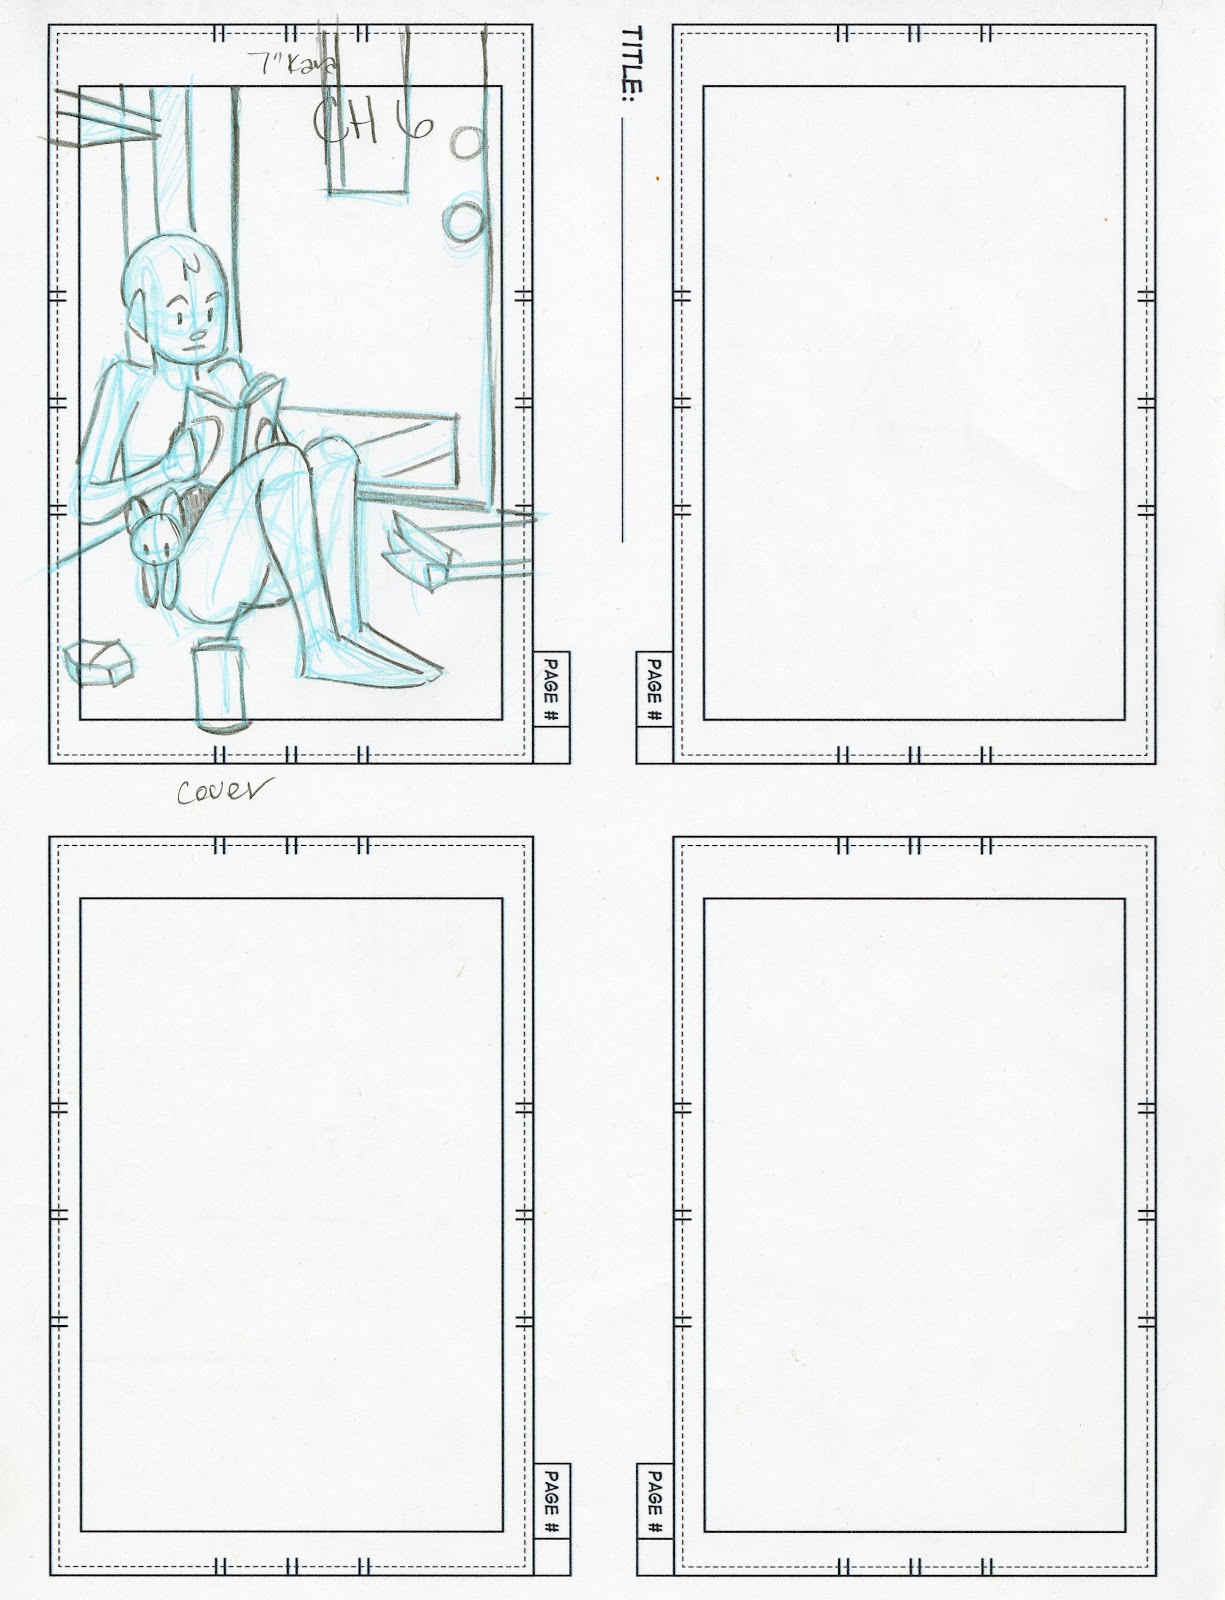

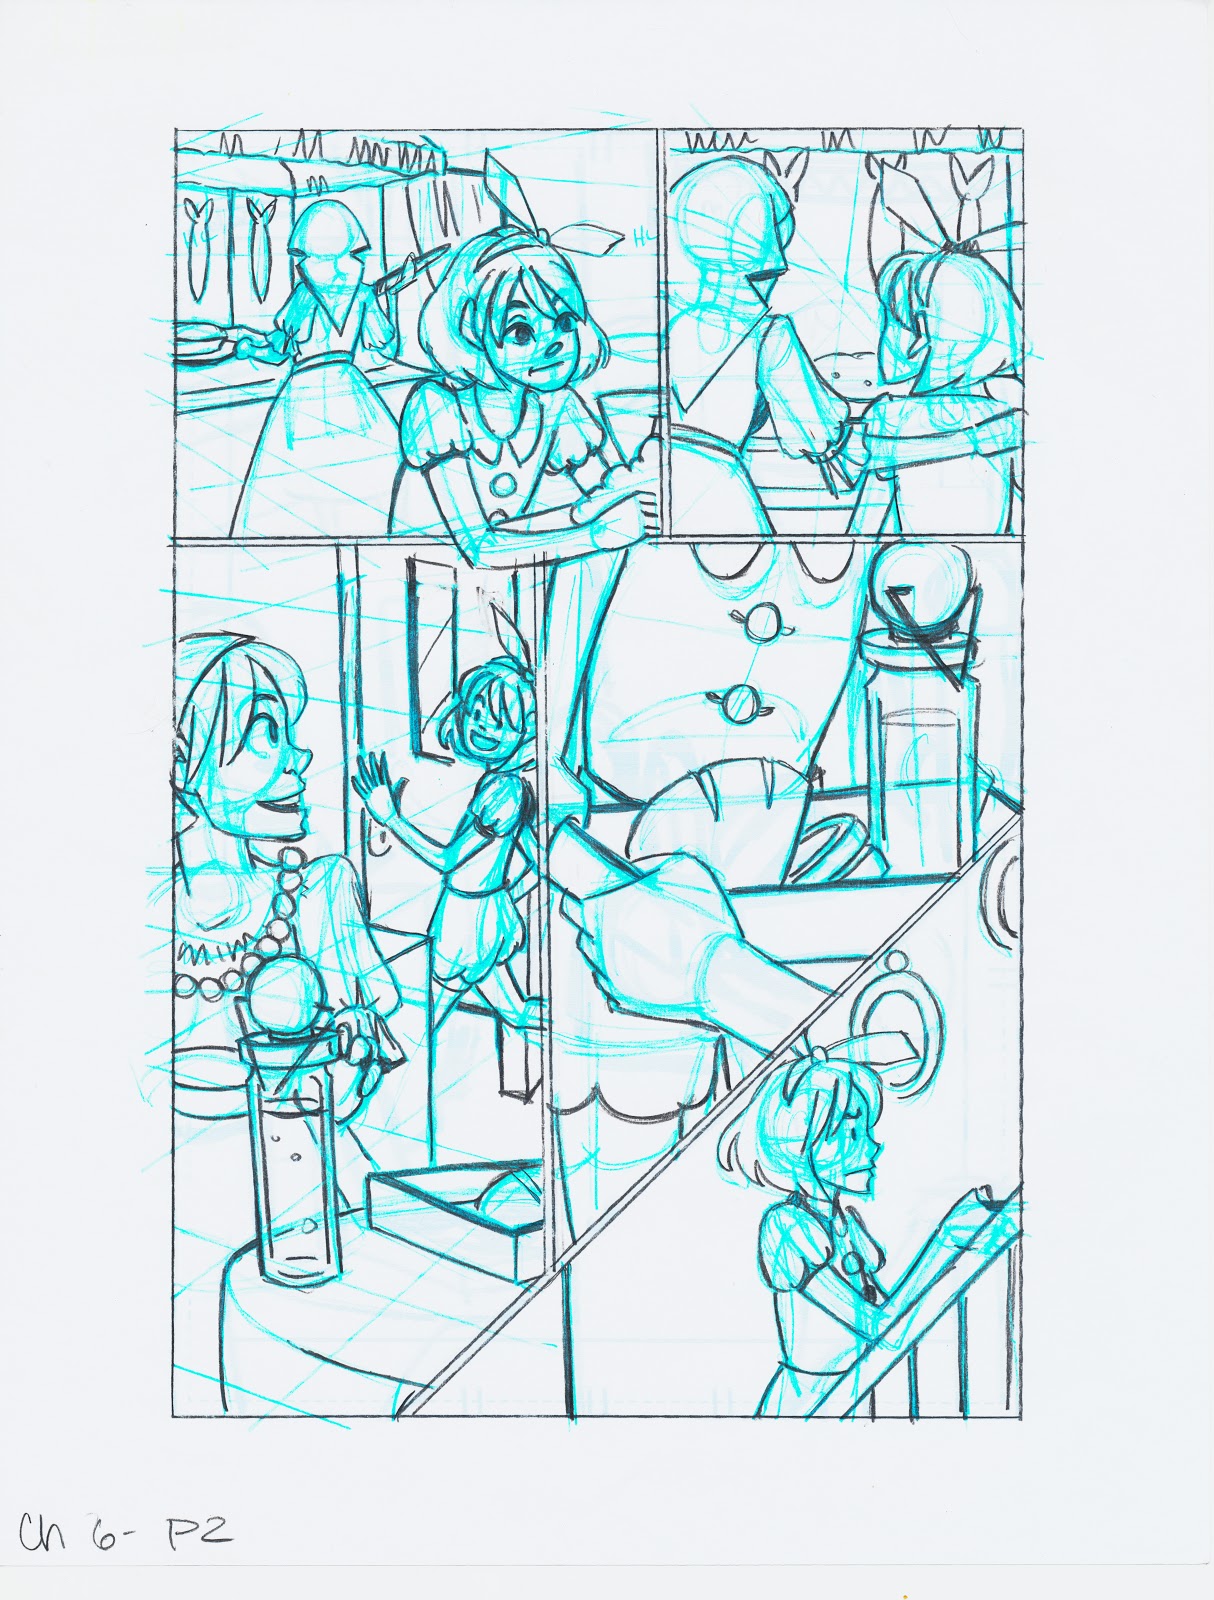
Resized Thumbnails
These serve as the base for the roughs. Some feature digital corrections.


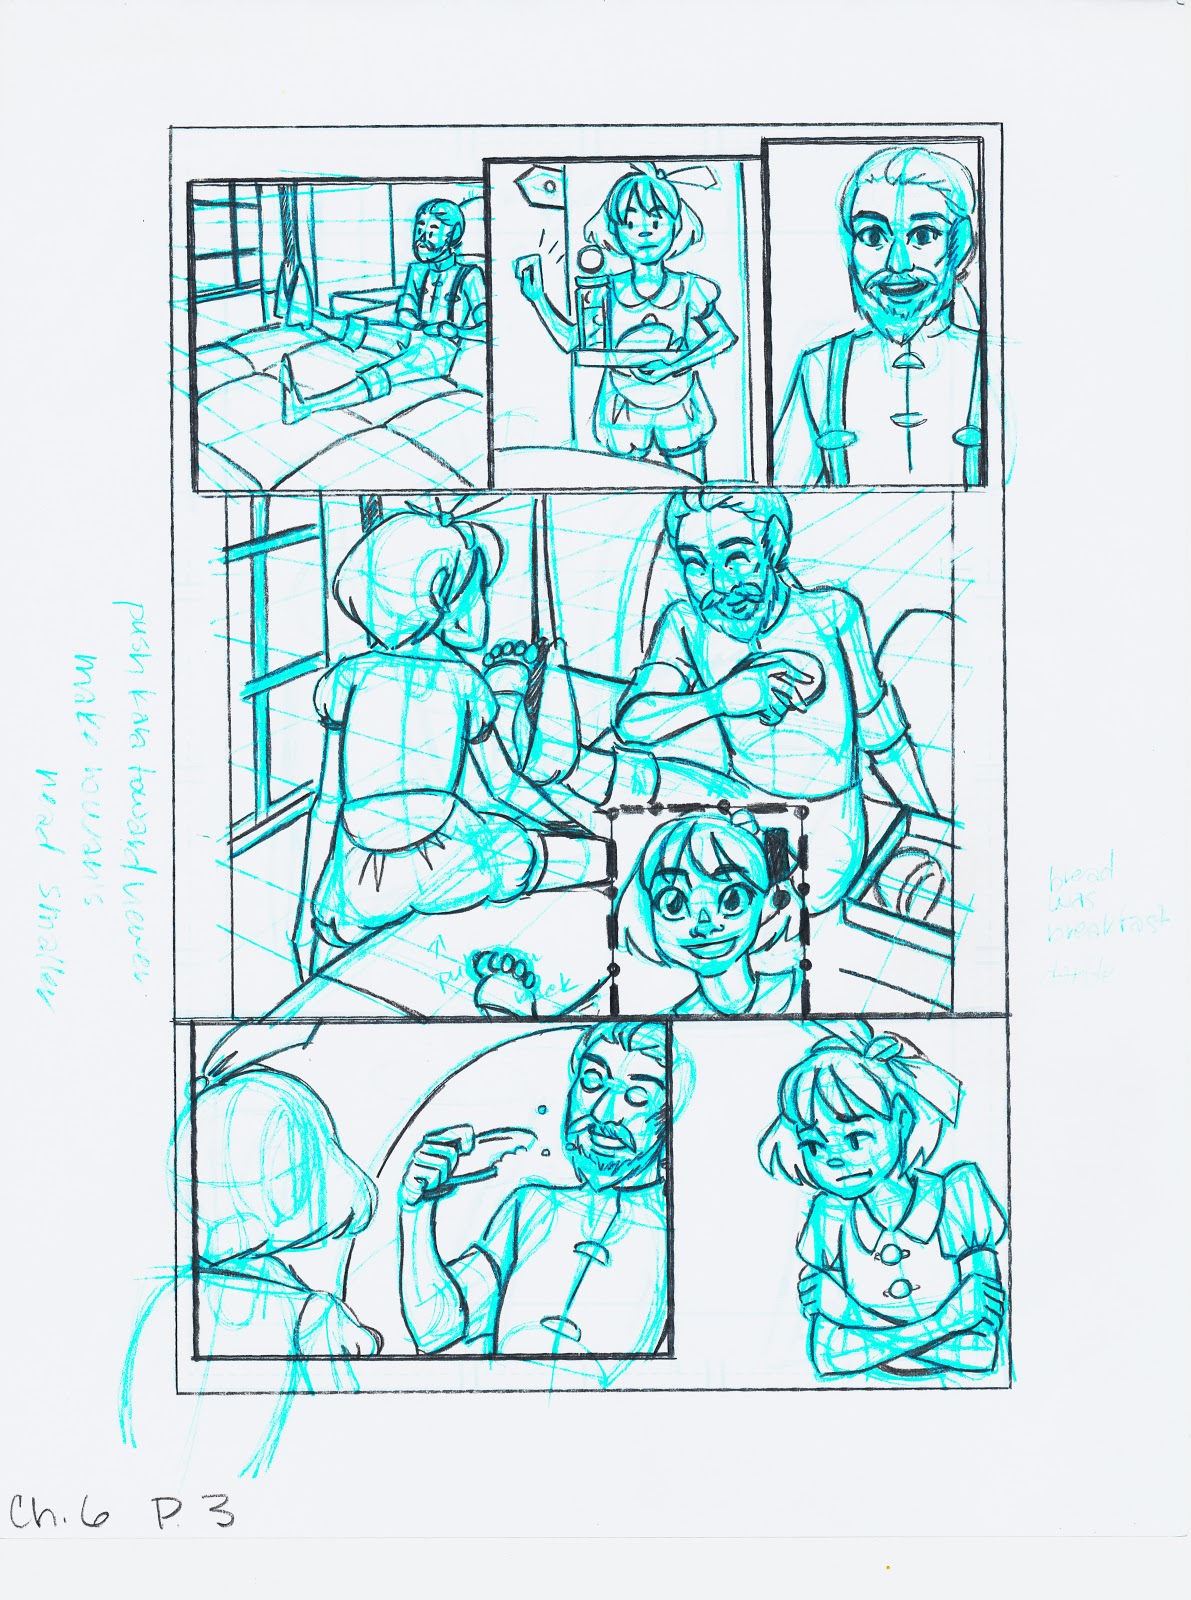
Uncorrected Roughs:


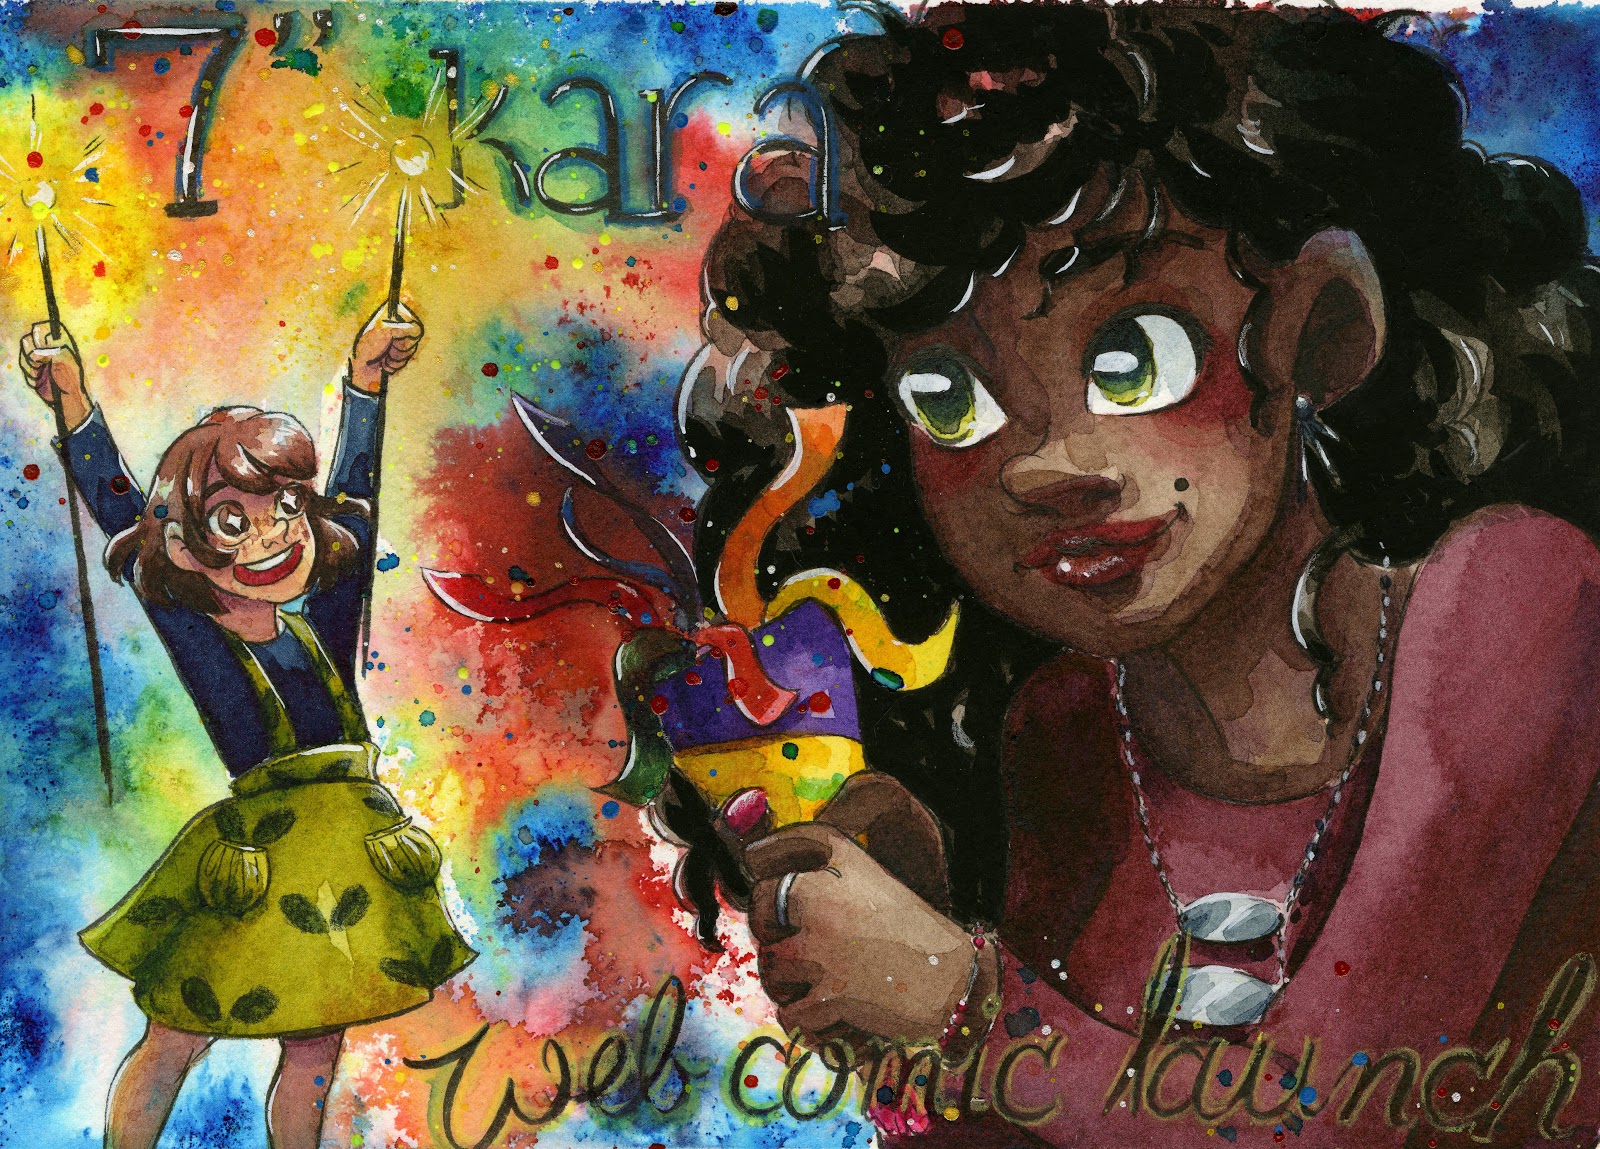
This installment of the Intro to Comic Craft: Step By Step series was sponsored by the launch of 7" Kara as a webcomic!
Comments
Post a Comment